My mini air purifier kept on turning on inside my bag, so I made this a learning project to make a case for a rounded gadget. I dipped into the scraps of a previous project and I finished it in two nights.
Here's how I made it:
I didn't really measure it. I just based the size of the case on the gadget. I just made sure that the gadget would fit the case :)
I had an odd set of scrap fabric from making a tote bag for a friend. It wasn't a lot, but enough to make a card holder. I needed one because the many rewards cards from shops were too bulky. I also always wanted to learn how to make a proper wallet.
I watched a couple of videos to understand the "logic" behind making small wallets. It was pretty easy to make. I used a piece of paper to understand how to fold the fabric. I aimed to make a 4" x 2.5" holder with two compartments.
I've been working on sorting and restoring my Mom's fabric and retaso (scrap fabric) stash. I've been toiling over it for the past few months and decided to take a break by sewing. I restored a cute, embroidered fabric. It still had some stains, so I thought it best to make kitchen curtains.
Since the fabric was a bit short, I decided to "upgrade" my curtain sewing skills, by adding a different kind of fabric to make it longer. I matched it with some soft denim fabric and added lace. I wanted to try make table top curtains (the one with loops), but I'm still doing a lot of other stuff, so went for my usual rod pocket curtains.
Here's how I made it:
The result:
Measurements based on my kitchen window:
I just also realized the new curtains match my cat kitchen appliance covers!
I found a bunch of scrap jeans coasters my Mom made back in the 90s. I remember it was a project she was doing with one of her assistants. It smelled of the 90s so I washed it and sun-dried it for a few days. Mom gave me one potholder a long time ago and we still use it. Quite sturdy IMHO!
I got to work and made another one. Hand sewing it together took two days and it wasn't easy (and probably why Mom abandoned the project!). Here's how I made the potholder:
It was a good first project for the year! I've been busy sorting my Mom's stuff and needed a breather, so I got to work :)
I have this really cute fabric perfect for doctors. It has hearts and squiggly lines representing ECGs. Last time I used it was to make gifts for my doctors in Singapore. I have a new set and thought I'd make something for my current set of doctors.
I decided to make a throw pillow case for one of my doctors. She had a pillow in her clinic. I asked permission to measure it and surprised my doctor with the throw pillow case during my next appointment. I still wanted to learn something new for this project, so I made heart accents for the throw pillow case. I'll share next time how I made it (I'm still trying to perfect it).
From a bag full of colors, I thought I'd try doing something opposite. Black and white, well, a gradient from black to white. It took me a long time to finish this project since I lacked fabric that's in-between white and black. I eventually found some and got to work. It's a belated birthday gift for a friend and she told me she liked her totes to be black.
I didn't want it to be just black, so I thought I'd play around with the color. Oh boy, I didn't realize how hard it would be to find the best layout for the fabric. It took me awhile just to get it right. I had to consult with my son since he's better with colors than me. Things were easy after the layout was finalized.
I definitely made a lot of hearts! I decided to make a heart themed tote bag for a friend during pride month. He loved it and has been using the tote bag to carry around gadgets.
Having ready-made hearts makes it easy to create other projects. For this tote bag project, I just added fabric to the top and bottom. Ironed it on interfacing and sandwiched it with batting. After stitching in the ditch, I added the straps and the lining. Easy peasy :)
I love making heart themed quilts. I had an idea to make a smaller one to make several projects, so I thought I'd make multiple hearts to save me time from cutting fabric. I was inspired to make this from Pinterest. I saw it a couple of years ago and worked on figuring out the measurements. That's one thing I enjoy about quilting... the math! And that's why I usually work things out on a math notebook so I know how best to cut fabric.
This quilt cover project has been on my to-do list since 2022! I decided to just bite the bullet and start it last January. I thought I could finish it in two to three weeks, but no, it stretched to almost six weeks. I got busy doing other home projects.
The design is quite simple, but making twelve pieces of 4x4 squares took awhile to make. I also decided to use the QAYG technique since the main quilt cover measures 58" x 44". I basically made a blanket with flaps. I left the flap open since the bench doubles as storage space. It's where I keep things that need to be further sorted (haha).
Here's how I made the quilted cover:
Materials:
fabric with design (I used a Star Wars themed fabric which I got from Spotlight in Singapore)
four solid colors fabric (orange, yellow, blue, green)
I decided to start the year by making something useful and cute. I also wanted the satisfaction of finishing a project in a few days, so I made a tote bag. It was inspired from a jute bag given to me. It's the perfect size to carry stuff at home (I don't like putting stuff in my pocket). I'm now using the one I just made to house my portable air purifier and fan which I bring whenever we go out. I love it.
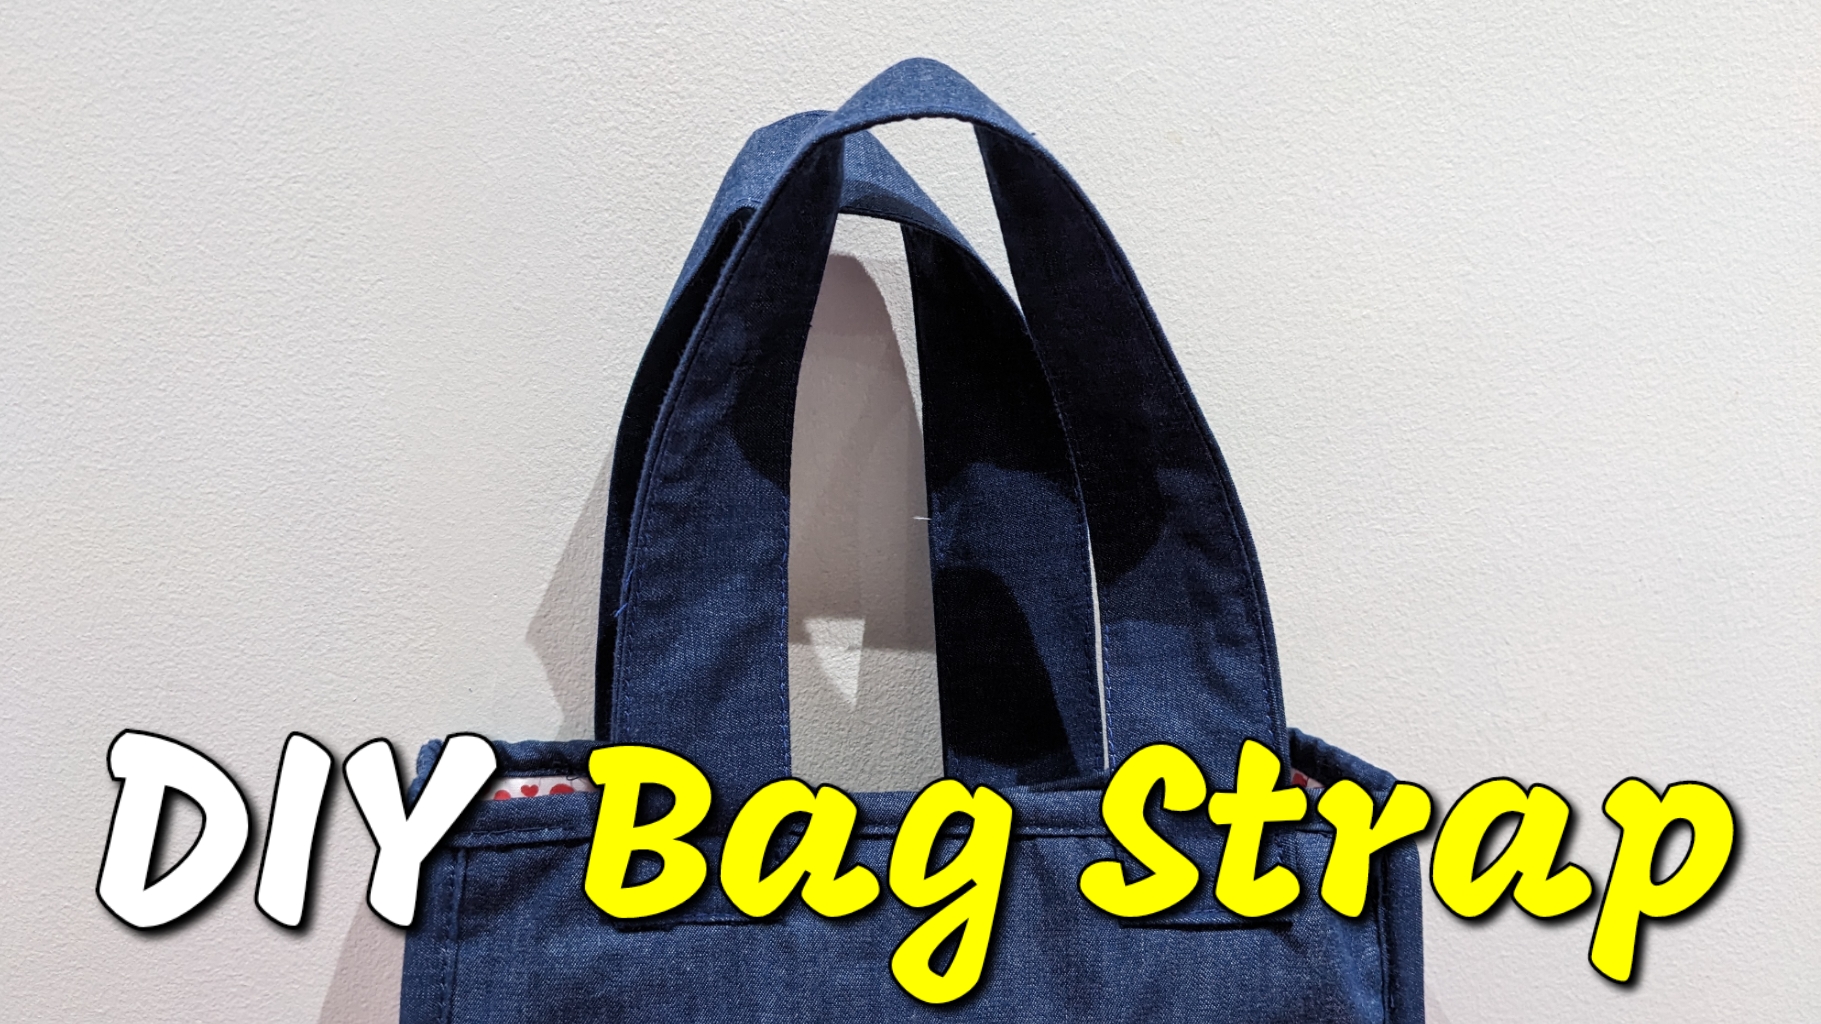
For this project I wanted to start strong so I chose to use the Wonder Woman fabric I got from Spotlight. I matched it with pseudo demin fabric to bring out the colors. Figuring out the size of the pieces and piecing them together was easy. I couldn't find my stash of bag straps, so I ended up learning how to make bag straps for this project. You can also watch the video here.
Here's how I made the tote bag:
Materials:
fabric with design
solid color fabric (I used pseudo jeans)
fusible interfacing
wadding
backing fabric
thread
If making the strap:
solid color fabric
1.5" fusible interfacing (the thicker one for straps)
thread
Size: 8.5" x 4" x 9.5" (bag); 16" x 1.5" (strap)
Steps:
1. Measure and cut pieces of fabric.
2. Piece together fabric of main bag (top + middle + bottom + base).
3. Iron the main bag and then add on fusible interfacing. Do the same for the sides of the bag.
4. Sandwich with wadding and backing fabric.
5. Stitch in the ditch the main bag. I used parallel lines for the sides.
6. Assemble the main bag and the sides.
7. Bind the exposed parts. Start with the sides of the bag and then the top.
I wanted to start the year with a fun project. I decided to make a bag inspired by a jute bag a friend gave me. I love the shape and size of the bag. I use one daily at home to carry stuff from room to room. While making the bag, I discovered I couldn't find the straps I've collected over the years! I didn't want to waste time looking for the straps, so I decided to just DIY it.
Here's the tutorial:
Luckily, I had all the materials on hand. Here's what you need:
I love Santa and I just had to make a Santa-inspired potholder. One can never have enough potholders, so why not have one just for the holiday season! I honestly started making this last September, but I got distracted with other projects. I set it aside in my scrap fabric stash and forgot about it. Found it the other day while organizing stuff and decided to finish it. Easy peasy. It just took one session to finish the project.
Here's the tutorial:
Materials:
red fabric with Christmas design
black fabric
red fabric for wadding and backside of the potholder
backing fabric
insulation wadding
regular wadding (I like my potholders a bit thick)
I finished this project in a few hours. I rushed to finish it for a friend who was visiting. I used red and green a layer cake (10" square pre-cut fabric) to make the process faster. It's a good idea to make this also for Christmas/holiday gifts since it's pretty easy to make. I made 2 variations since I couldn't decide whether I liked green or red binding for it, haha.
I rushed to make this pinwheel baby quilt for my grand niece. I was after a free ride to Australia for the blanket since my brother is heading there. Well, it's currently stuck in Indonesia and will hopefully reach my grand niece by New Year.
I finally busted out the fabric I got in Ginza, Japan a few years ago. I wanted to use it for a special baby, so I was ecstatic when my nephew and his wife had a baby girl. The sashing and binding fabric is from Singapore and the wadding from Australia (yes, I used to hoard stuff from abroad whenever I got to travel). I thought about my Mom while I was choosing the color for the sashing and eventually asked for my son's opinion. Sweetie said it looked like a quilt my Mom would put together.
Just realized I need to catch up writing about the other scrap fabric projects I did. Most of the time I have so much fun sewing I forget about the documentation part. I've been documenting and filming my projects so in case I want to do it again I can take note of points I can improve on. Quilting and sewing is a continuous learning journey for me. It's also been helping me heal from losing my Mom.
I unearthed all my scrap fabric a few weeks ago. Gathered them up and sorted them. It was actually harder to plan scrap fabric projects. The challenge lay in the sizes of the scrap fabric and how it could fit what I wanted to do. For this project, I got some inspiration from a quilting magazine on bags. I just wanted a simple design that would work on the scrap fabric I had on hand.
I decided to work on the scrap fabric I collected over the past few years. Aside from small pieces, I have some that are already pieced together. I set aside the excess pieces and thought it would be useful eventually. Found some of the pieced together denim-like fabric I used for the cat quilts.
Decided to make a potholder since I need new ones. I finished the project in one sitting since it was practically ready to be quilted. I also used scrap wadding and scrap insulating wadding for the project. I also had leftover bias tape. I would have finished faster if I didn't need to film, lol.
Here's the tutorial:
The steps:
1. Measure and cut the fabric.
2. Sandwich with wadding, insulating wadding and backing fabric. (I doubled it just to make it a bit thicker, but the insulating wadding would have been enough to keep heat out).
3. Stitch in the ditch.
4. Prepare the backside of the potholder. Split into two pieces and fold in one side of both pieces.
5. Align the front side with the backside, then bind with bias tape.
I felt I needed to add a small item with the laptop sleeve I made for my friend. I really want to learn how to install a zipper on my projects, so I thought a small pouch would be nice. She could use it as a pencil case or other knick-knacks. It would fit the pocket of the sleeve too.
I decided to match it with the laptop sleeve, so I didn't change the design anymore. I had the fabric on my sewing basket, so I finished everything in one evening. It was a small piece, but nonetheless challenging when it came to adding the lining. I had to re-watch my quilted tote bag video to figure it out. I did it wrong the first time, so ended up doing it again, haha. Just remember to slip in the right side of the pouch with the lining facing the wrong side out (note for myself!).
Here's the tutorial:
The steps:
1. Plan, design and cut the fabric.
2. Piece together. Start with the middle part, then add the outer sides.
3. Iron both sides.
4. Sandwich with wadding and backing fabric.
5. Pin to stabilize and stitch in the ditch.
6. Clean the sides.
7. Add the zipper.
8. Sew the edges together from the wrong side.
9. Add the lining. Pull out the pouch from the open side of the lining.
I have a friend who loves Little Twin Stars. I knew about this Sanrio character because my sister had it on her dresser (jewelry boxes). I'm glad I found Little Twin Stars fabric online. I only got a meter because it's expensive! There's probably a lot more options available in Japan.
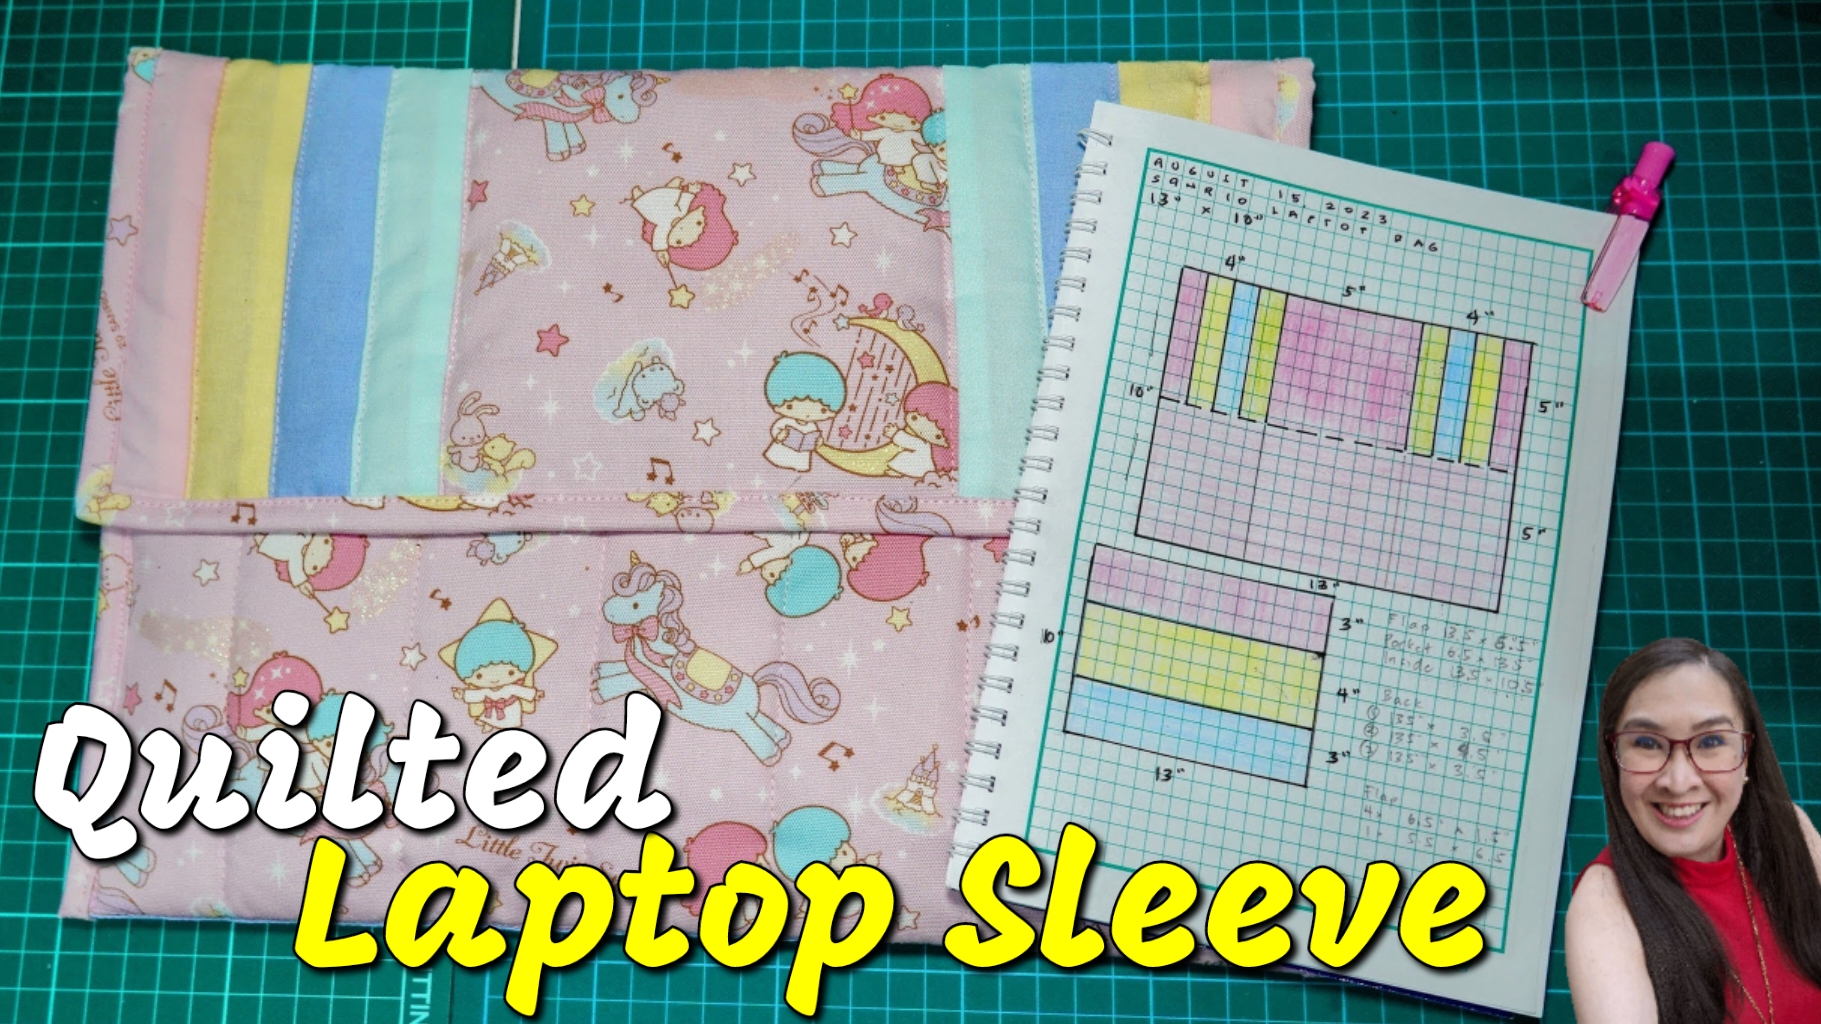
After storing the fabric for a few months, I finally decided to make a laptop sleeve for my friend. I asked her what kind of laptop she was using. Then I worked out the measurements and design. I asked help from my son to help me choose the colors of the fabric. I wanted to make sure the colors would complement the Little Twin Stars fabric.
I made the design simple, to make sure the Little Twin Stars fabric is noticeable. The challenging part in assembling this quilted laptop sleeve is figuring out how to properly add the pocket. I wanted the wadding to be continuous to add strength to the sleeve.
I'm glad I didn't rush to finish the project because I was able to make the sleeve stable. I was also able to add velcro discreetly. I didn't want stitches for the velcro to show on the flap. I'm happy how it turned out, I just hope my friend's laptop fits!
Here's the tutorial:
The steps:
1. Plan and design.
2. Create the inner panel and pocket. Sandwich the pocket with wadding and bind the top. Join the inner panel and pocket at the bottom.
3. Piece together the flap.
4. Piece together the back panel.
5. Join the back panel and flap. Then join the inner panel with pocket.
6. Sandwich with wadding. Stabilize with pins and then quilt. Don't quilt the flap yet.
Decided to use the "cat with tail" pinterest inspired design to make a cover for my blender. The challenge in making this project was figuring out how to attach the tail to the cover, so I procrastinated for awhile before I continued the project.
Finally finished the quilt cover early this week. I added a back pocket for the cover for added storage. I just used the same denim strips to combine the two ends of the cover. It worked out pretty much like the KitchenAid quilt cover and the food processor cover. Now I have three cute cat quilt covers in my kitchen!
A friend suggested I should make cat potholders to match the quilt covers. I think I'll do that too!
Here's the tutorial:
The steps how I combined the different sides:
1. Create the following parts of the cover: front cover with design, the back cover with pocket, and the main cover (this is the one that combines the front and the back).
*I've included in the tutorial video above how to make the bowtie.
2. Attach the tail to the cat.
3. To make it easier to bind the whole cover. Sew the three parts together.
I worked on the front cover first of this project. I was inspired by a pinterest pin to create two cute cats. See previous posts on how I created the base and put on the cat face. I took my time to finish it since I had to figure out how to create it from scratch.
The trick to making quilt covers for your appliances/gadgets is to create it in panels. That way it's easier to bind them together. Binding the panels just took one afternoon. It helps to prepare your bias tape ahead of time.
Here's a short tutorial -
Steps
1. Finish the front panel.
2. Create the back panel with pocket.
3. Make the main panel that will combine the front and back panel.
4. Clip and sew the front panel. Do the same for the back panel.
5. Clip wrong side of binding. Sew.
6. Finish the binding.
See also part 1 and part two of this project:
Part 1: https://www.needleadventures.com/2023/05/another-pinterest-inspired-cat-quilt.html
Part 2: https://www.needleadventures.com/2023/06/making-cat-face-and-quilt-cover-pocket.html