My mini air purifier kept on turning on inside my bag, so I made this a learning project to make a case for a rounded gadget. I dipped into the scraps of a previous project and I finished it in two nights.
Here's how I made it:
I didn't really measure it. I just based the size of the case on the gadget. I just made sure that the gadget would fit the case :)
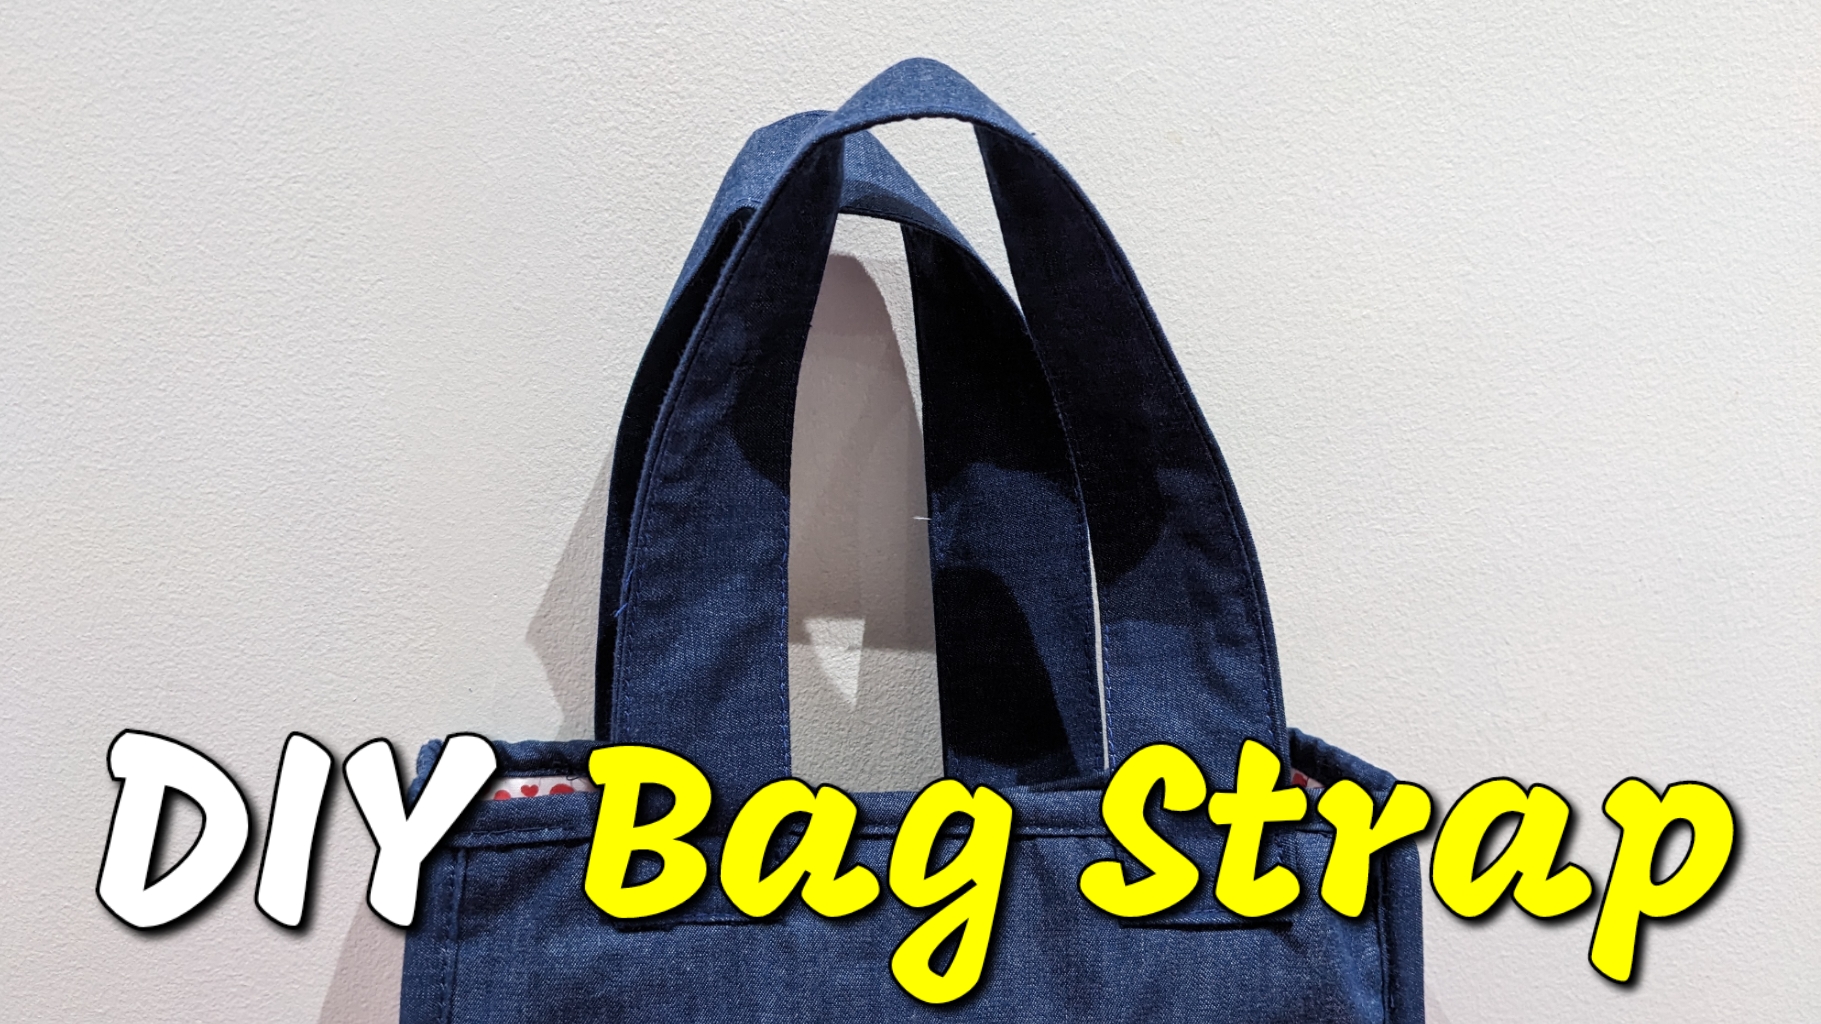
I wanted to start the year with a fun project. I decided to make a bag inspired by a jute bag a friend gave me. I love the shape and size of the bag. I use one daily at home to carry stuff from room to room. While making the bag, I discovered I couldn't find the straps I've collected over the years! I didn't want to waste time looking for the straps, so I decided to just DIY it.
Here's the tutorial:
Luckily, I had all the materials on hand. Here's what you need:
I felt I needed to add a small item with the laptop sleeve I made for my friend. I really want to learn how to install a zipper on my projects, so I thought a small pouch would be nice. She could use it as a pencil case or other knick-knacks. It would fit the pocket of the sleeve too.
I decided to match it with the laptop sleeve, so I didn't change the design anymore. I had the fabric on my sewing basket, so I finished everything in one evening. It was a small piece, but nonetheless challenging when it came to adding the lining. I had to re-watch my quilted tote bag video to figure it out. I did it wrong the first time, so ended up doing it again, haha. Just remember to slip in the right side of the pouch with the lining facing the wrong side out (note for myself!).
Here's the tutorial:
The steps:
1. Plan, design and cut the fabric.
2. Piece together. Start with the middle part, then add the outer sides.
3. Iron both sides.
4. Sandwich with wadding and backing fabric.
5. Pin to stabilize and stitch in the ditch.
6. Clean the sides.
7. Add the zipper.
8. Sew the edges together from the wrong side.
9. Add the lining. Pull out the pouch from the open side of the lining.
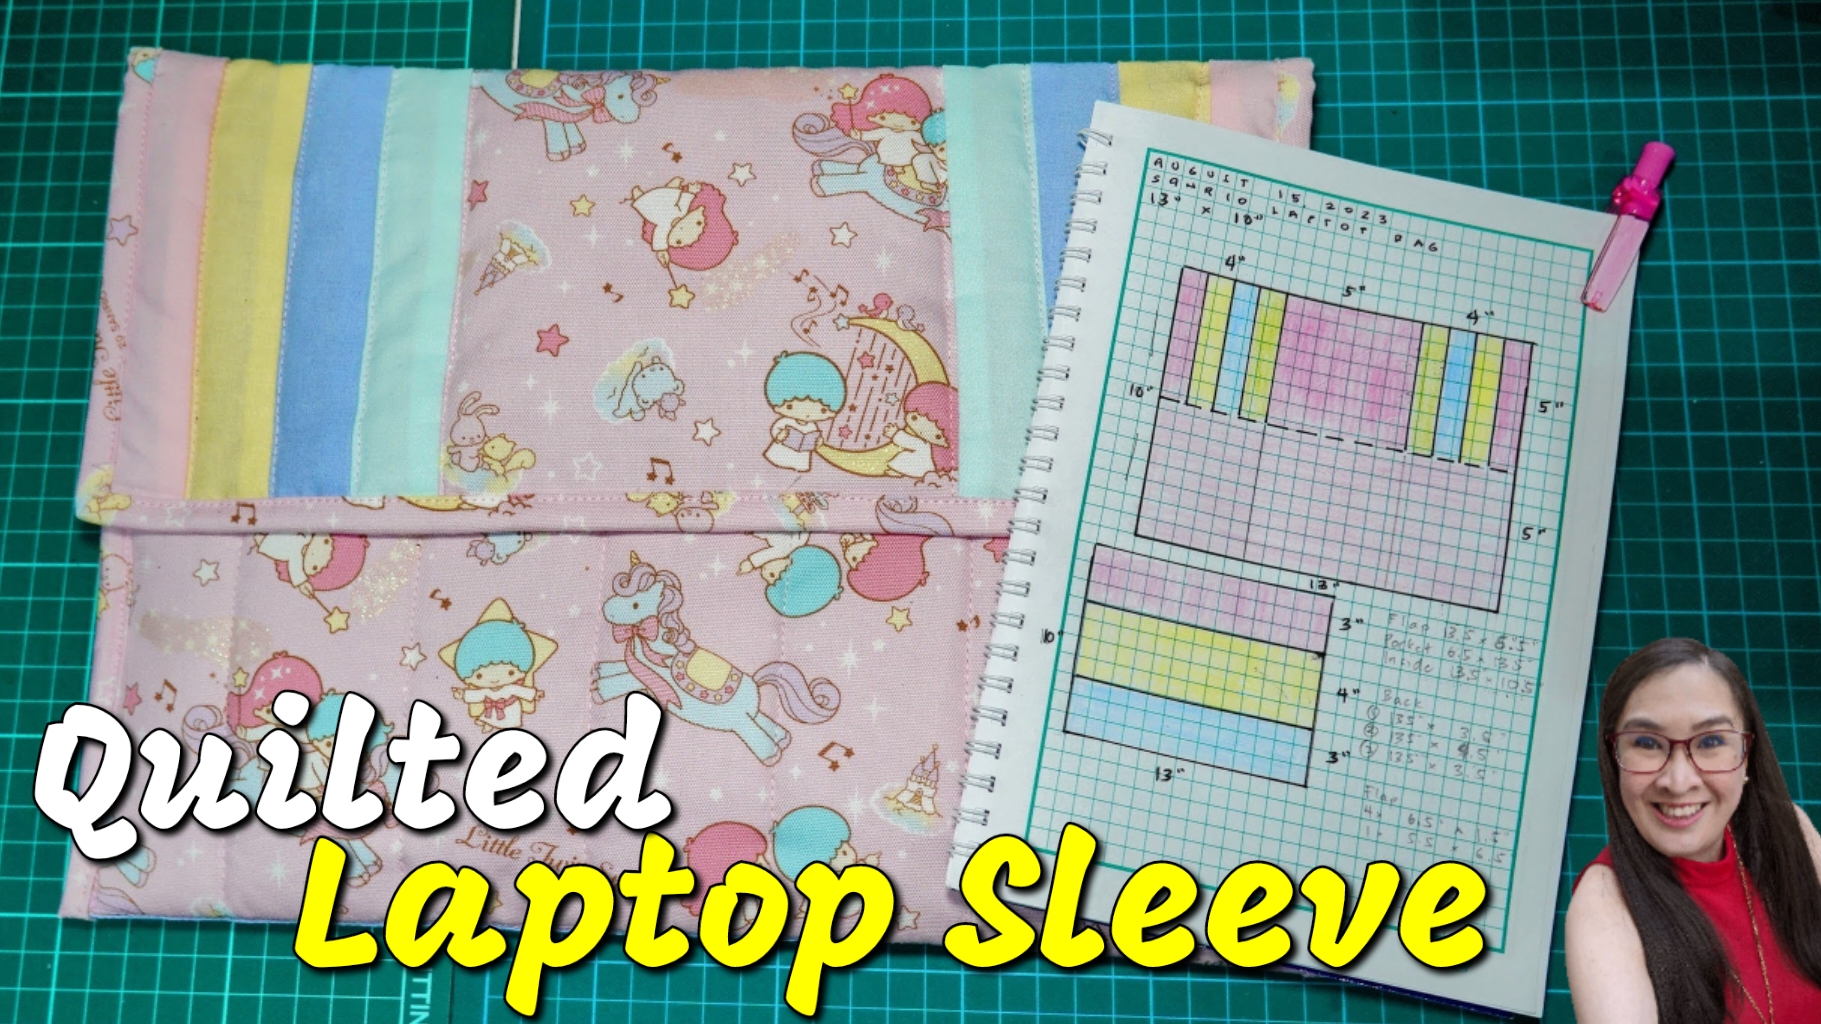
I have a friend who loves Little Twin Stars. I knew about this Sanrio character because my sister had it on her dresser (jewelry boxes). I'm glad I found Little Twin Stars fabric online. I only got a meter because it's expensive! There's probably a lot more options available in Japan.
After storing the fabric for a few months, I finally decided to make a laptop sleeve for my friend. I asked her what kind of laptop she was using. Then I worked out the measurements and design. I asked help from my son to help me choose the colors of the fabric. I wanted to make sure the colors would complement the Little Twin Stars fabric.
I made the design simple, to make sure the Little Twin Stars fabric is noticeable. The challenging part in assembling this quilted laptop sleeve is figuring out how to properly add the pocket. I wanted the wadding to be continuous to add strength to the sleeve.
I'm glad I didn't rush to finish the project because I was able to make the sleeve stable. I was also able to add velcro discreetly. I didn't want stitches for the velcro to show on the flap. I'm happy how it turned out, I just hope my friend's laptop fits!
Here's the tutorial:
The steps:
1. Plan and design.
2. Create the inner panel and pocket. Sandwich the pocket with wadding and bind the top. Join the inner panel and pocket at the bottom.
3. Piece together the flap.
4. Piece together the back panel.
5. Join the back panel and flap. Then join the inner panel with pocket.
6. Sandwich with wadding. Stabilize with pins and then quilt. Don't quilt the flap yet.
I'm on a roll trying out cute Pinterest inspired cat quilts. It's a good way to learn new skills since you're forced to learn how to make templates and figure out how best to piece a design. I'm also a lot iffy when it comes to curved designs and I certainly struggled a bit when I made the tail.
Figuring out the template for the cat was fairly easy. I still ended up piecing the back area upside down, so I ended up re-doing it. The tail though was harder to put together and it took me awhile to turn it inside out. I breathed a sigh of relief when I saw I correctly cut the fabric (front side down when you cut the fabric!). The secret to my success? Making templates!
Here's the tutorial:
Here are the steps on how I made the cat quilt:
1. To get the right measurements, I drew the design on graphing paper.
2. Rendered the design and it's actual measurements on manila paper to make sure I got it right.
3. Created a template on a board.
4. Used the board to cut fabric. Make sure to add 1/4" around the edges.
5. Pieced together the cut fabric.
6. Ironed both sides and sandwiched with wadding.
7. Quilt the cat! I decided to use white thread to highlight the shape of the cat.
How to make the tail:
1. Asked my son help draw me a right sized tail using manila paper.
2. Used the drawing to make a template.
3. Drew the tail right side facing down and added 1/4" around the edges.
4. Sandwiched the tail with thick interfacing (I reused from a bag leftover). Sandwich should follow this order: tail wrong side up, backing fabric and interfacing at the bottom.
5. Sew together and leave the base of the tail open.
6. Once done, pull inside out.
7. Quilt the tail with the same white thread.
Materials:
1 print fabric
1 solid color fabric
thread and needle
pins
graphing paper
manila paper
ruler
scissors
interfacing (the thick one for bags is a good one)
Size:
6" x 9.5" x 16.5"
Pattern:
Will assemble and turn the cat quilt into a kitchen gadget cover next week!