Showing posts with label pinterest cat quilt. Show all posts

Sunday, June 11, 2023

Food Processor Quilt Cover Assembly

I worked on the front cover first of this project. I was inspired by a pinterest pin to create two cute cats. See previous posts on how I created the base and put on the cat face. I took my time to finish it since I had to figure out how to create it from scratch. 


The trick to making quilt covers for your appliances/gadgets is to create it in panels. That way it's easier to bind them together. Binding the panels just took one afternoon. It helps to prepare your bias tape ahead of time.

Here's a short tutorial -


Steps

1. Finish the front panel. 

2. Create the back panel with pocket. 

3. Make the main panel that will combine the front and back panel. 

4. Clip and sew the front panel. Do the same for the back panel.

5. Clip wrong side of binding. Sew.

6. Finish the binding. 

See also part 1 and part two of this project:

Part 1: https://www.needleadventures.com/2023/05/another-pinterest-inspired-cat-quilt.html

Part 2: https://www.needleadventures.com/2023/06/making-cat-face-and-quilt-cover-pocket.html

Tuesday, June 6, 2023

Making a Cat Face and a Quilt Cover Pocket

It was quite a challenge to add the face of the cat on my Pinterest inspired cat quilt. I want to use the design for a kitchen appliance cover. The design though is more intricate than other cat quilts. For other cat quilts you just need a button for the eyes. The design for this quilt requires eyes with a background, plus eyelashes. 


Decided to make it easy for me and used felt fabric and a button for the eyes. Also just added a tiny embroidered eyelash. For the nose and mouth, I just embroidered a small nose and mouth. I skipped the whiskers since that's the interesting feature of my KitchenAid cat quilt cover.

One thing I had fun with was the placement of the button for the eyes. I moved it around to find which ones were cute. It was hard to select, so I just made it all different. It turned out well. After completing the face I realized the cat is stouter than the Pinterest inspiration. Our feral kitties do have wider faces, so I guess I took inspiration from that, hehe. 

Here's a tutorial 


Steps on Adding the Cat Face

1. Find an appropriately sized coin. Use this to measure the outer eye on felt fabric.
2. Embroider the outer eye on the face using blanket stitch.
3. Add black button for the eye. 
4. Draw the nose the lips. 
5. Embroider nose and lips with back stitch.
6. Add whiskers (optional).

Materials

Felt fabric (white)
white DMC thread
black buttons
black DMC thread

Monday, May 22, 2023

A Cat with a Tail Quilt

I'm on a roll trying out cute Pinterest inspired cat quilts. It's a good way to learn new skills since you're forced to learn how to make templates and figure out how best to piece a design. I'm also a lot iffy when it comes to curved designs and I certainly struggled a bit when I made the tail. 

Figuring out the template for the cat was fairly easy. I still ended up piecing the back area upside down, so I ended up re-doing it. The tail though was harder to put together and it took me awhile to turn it inside out. I breathed a sigh of relief when I saw I correctly cut the fabric (front side down when you cut the fabric!). The secret to my success? Making templates!


Here's the tutorial:


Here are the steps on how I made the cat quilt:

1. To get the right measurements, I drew the design on graphing paper.

2. Rendered the design and it's actual measurements on manila paper to make sure I got it right. 

3. Created a template on a board. 

4. Used the board to cut fabric. Make sure to add 1/4" around the edges. 

5. Pieced together the cut fabric. 

6. Ironed both sides and sandwiched with wadding. 

7. Quilt the cat! I decided to use white thread to highlight the shape of the cat. 

How to make the tail:

1. Asked my son help draw me a right sized tail using manila paper. 

2. Used the drawing to make a template. 

3. Drew the tail right side facing down and added 1/4" around the edges. 

4. Sandwiched the tail with thick interfacing (I reused from a bag leftover). Sandwich should follow this order: tail wrong side up, backing fabric and interfacing at the bottom. 

5. Sew together and leave the base of the tail open. 

6. Once done, pull inside out.

7. Quilt the tail with the same white thread. 

Materials:

1 print fabric

1 solid color fabric

thread and needle

pins

graphing paper

manila paper

ruler

scissors

interfacing (the thick one for bags is a good one)

Size:

6" x 9.5" x 16.5"

Pattern:


Will assemble and turn the cat quilt into a kitchen gadget cover next week!


Tuesday, May 16, 2023

Another Pinterest Inspired Cat Quilt

I wanted to explore more cat designs on Pinterest. I knew it would help me hone my skills more on making templates and figuring out how to re-create a design I see online or on a book. Pinterest is a treasure trove of ideas and inspiration for quilting. I have pinned many ideas which I hope to try making. Follow me on Pinterest if you have one: https://www.pinterest.com/aileenapolo/. 


Here's the tutorial -


Here are the steps on how I made this cute cat quilt -

1. Drew the design on graphing paper based on the size for my end project. 

2. Rendered the design on manila paper to get an idea of the size. I adjusted a couple of times.

3. Draw the design on a chip board. Cut based on how you will piece together the design. 

4. Cut the fabric. Make sure to add 1/4" around the template. 

5. Piece together. Best to start with the ear area and complete the face and chin. 

6. Add the "background" around the cat face. 

7. Add sides as needed.

8. Iron both sides. 


Materials

4 print or solid fabric

thread and needle

pins

graphing paper

manila paper

ruler

colored pencils (optional)

Size

9" x 9" x 16"

Pattern


Sunday, April 23, 2023

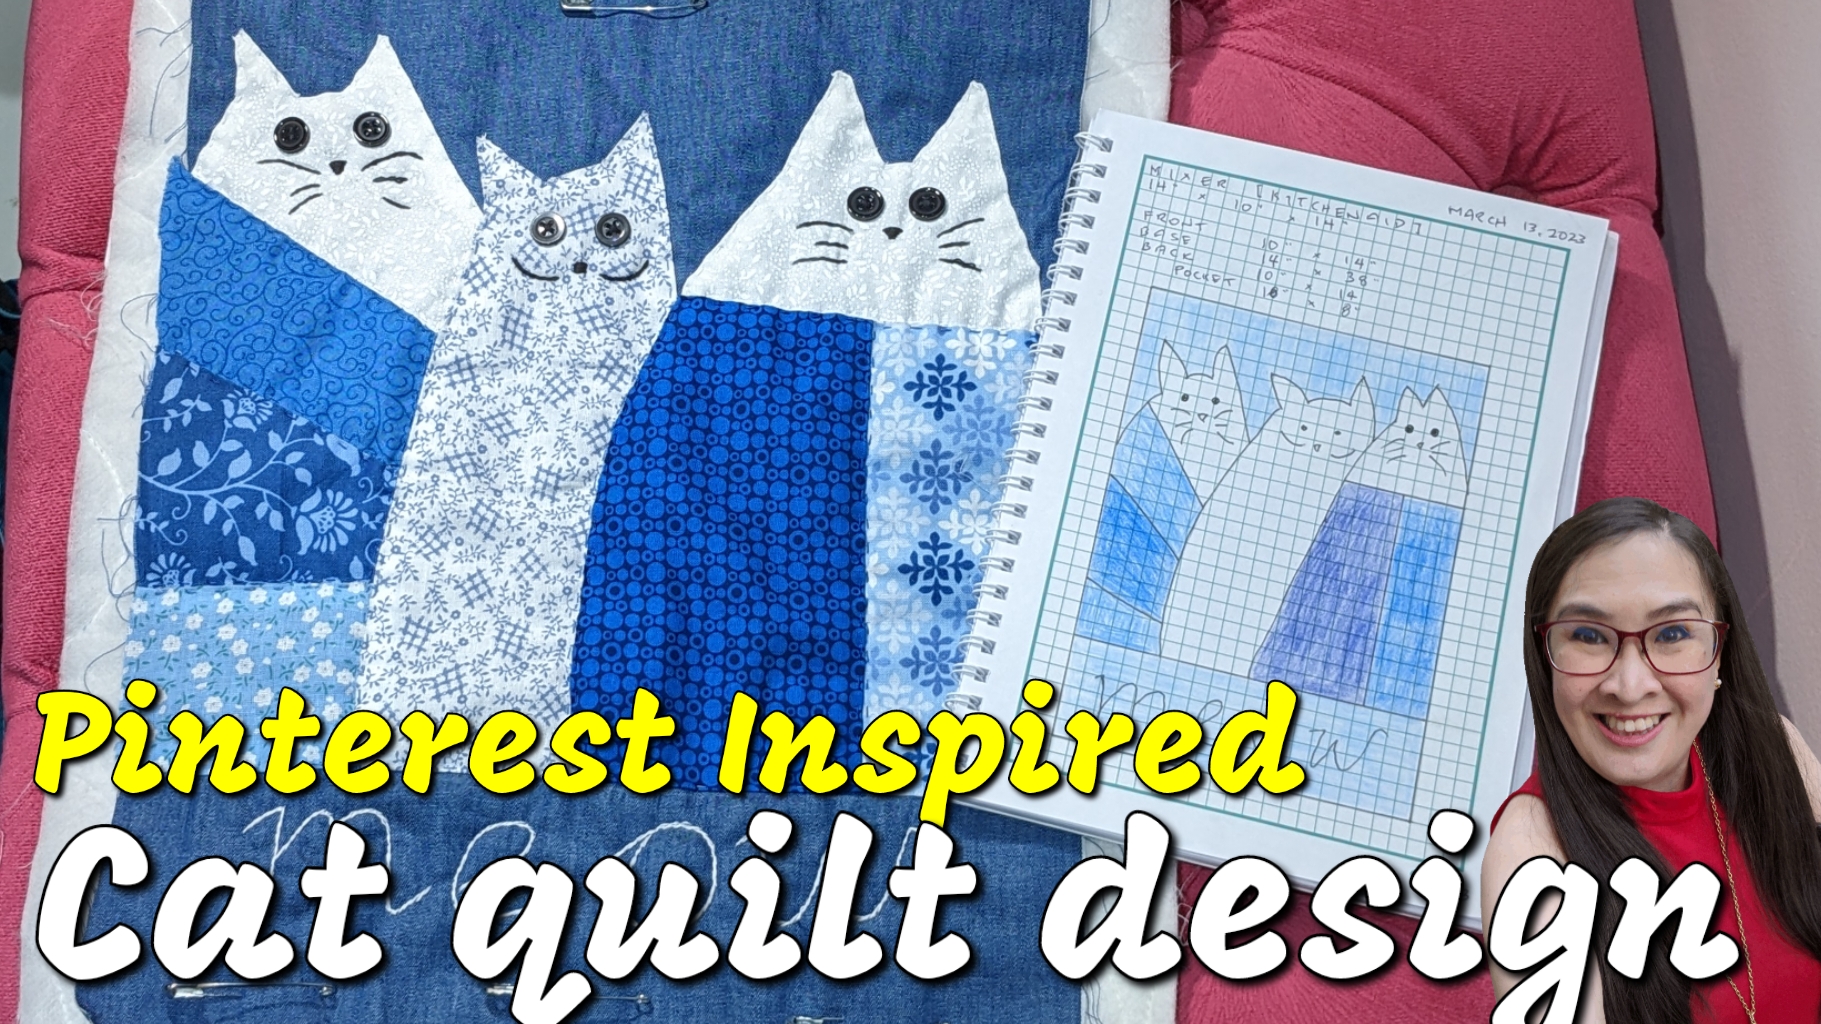
Pinterest Inspired Cat Quilt

I wanted to learn how to do non-block quilting, so I turned to Pinterest for inspiration. I saw a lot of designs I want to try making, but I had to learn how to quilt odd shaped fabric. I started by making mug rugs. I made a cupcake and butterfly mug rug, so I could practice sewing curves. Eventually found several cat designed quilts which I thought should be challenging to make. 


I chose from the different cat designs I pin and decided to start with this pin. I couldn't access the website where it came from, so I just made it from scratch. I made a bag the first time I tried this pin and thought I'd use the design again for a kitchen project I'm making. In time I plan to combine this cat design with other cat designs to make a lap quilt.

Here's a tutorial:


Here are the steps on how I made the quilt:

1. Draw the design based on the measurements of your project. 

2. Trace the design with tracing paper and cut it by piece.

3. Use the cut piece to make a template using a board (I just used an old box). 

4. Select your fabric. 

5. Use the template wrong side up to draw the piece. 

6. Cut with 1/4 inch allowance. 

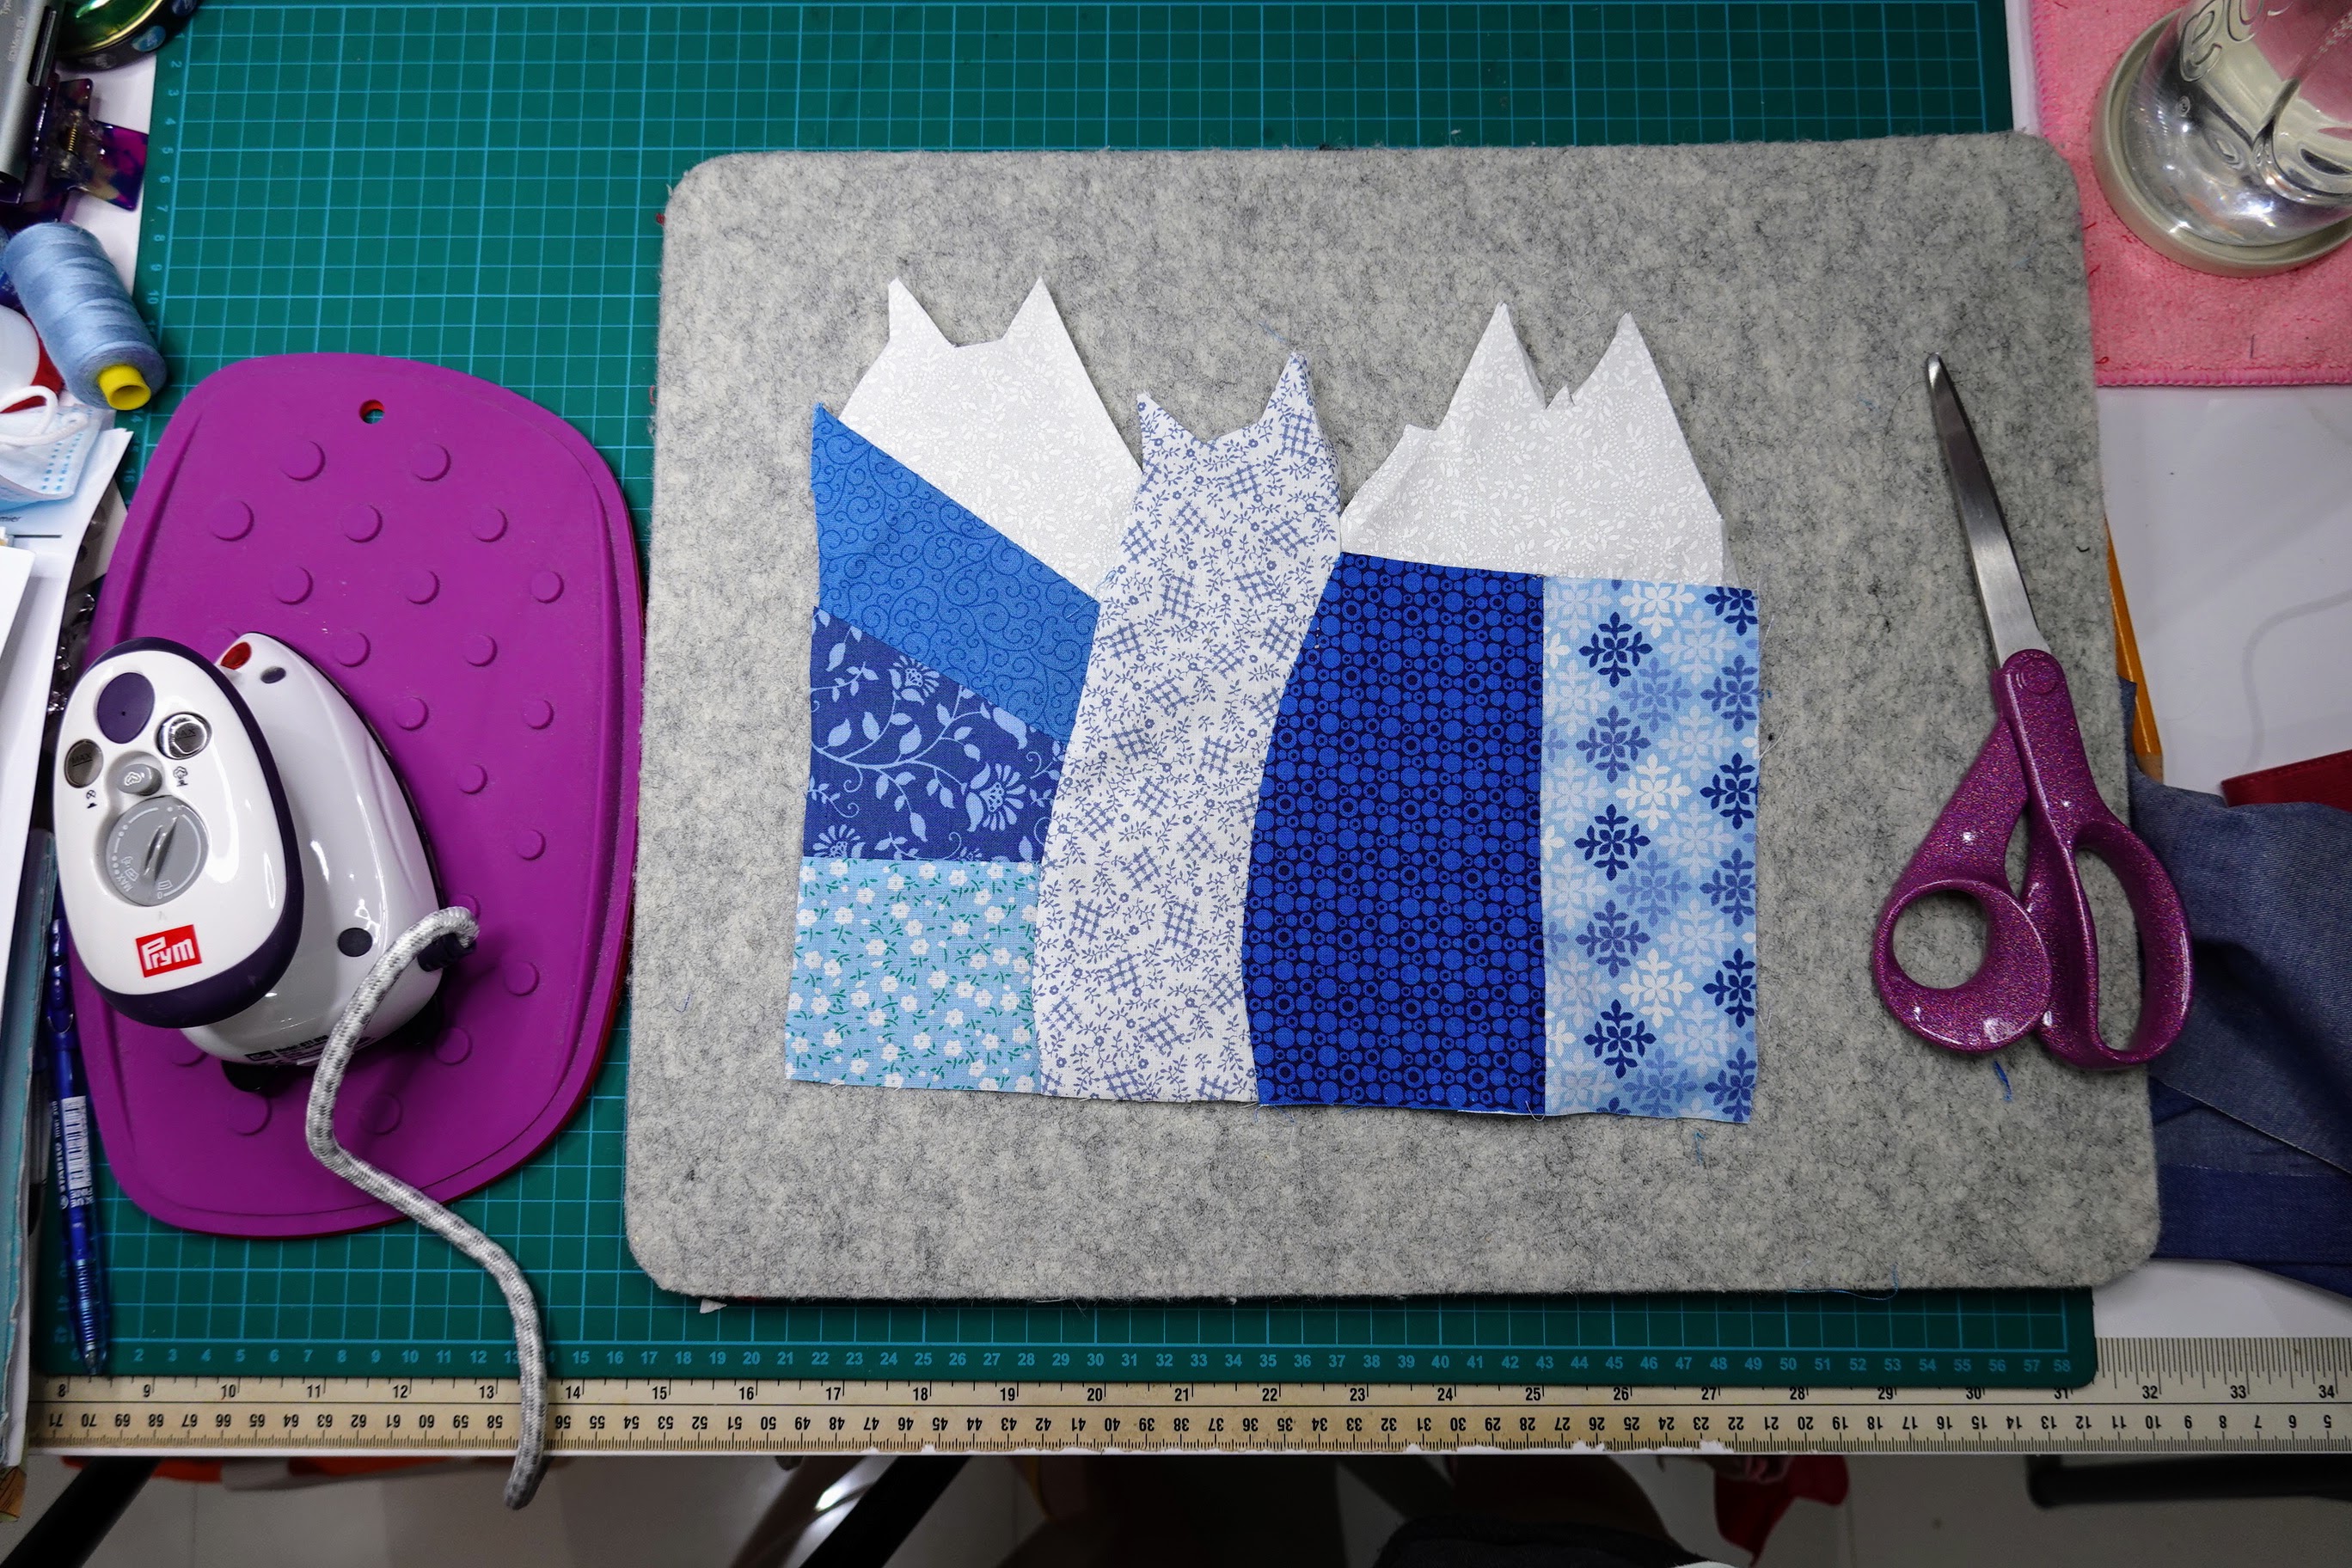
7. Piece together the cut fabric. 

8. Iron both sides and fold in the head and ears. 

9. Put the design on your base fabric. 

10. Sandwich with batting and pin. 

11. Quilt :)

12. Add the buttons.

13. Embroider the whiskers and nose.

14. Embroider a message, I added "meow" at the bottom (optional)

Materials:

1 white printed fabric

7 blue printed fabric in different hues

4 blue thread in different hues

black embroidery thread

6 buttons

base fabric

wadding

backing fabric

pins/needle

Size:

10" x 14"

Pattern: