Sunday, April 23, 2023

Pinterest Inspired Cat Quilt

I wanted to learn how to do non-block quilting, so I turned to Pinterest for inspiration. I saw a lot of designs I want to try making, but I had to learn how to quilt odd shaped fabric. I started by making mug rugs. I made a cupcake and butterfly mug rug, so I could practice sewing curves. Eventually found several cat designed quilts which I thought should be challenging to make. 


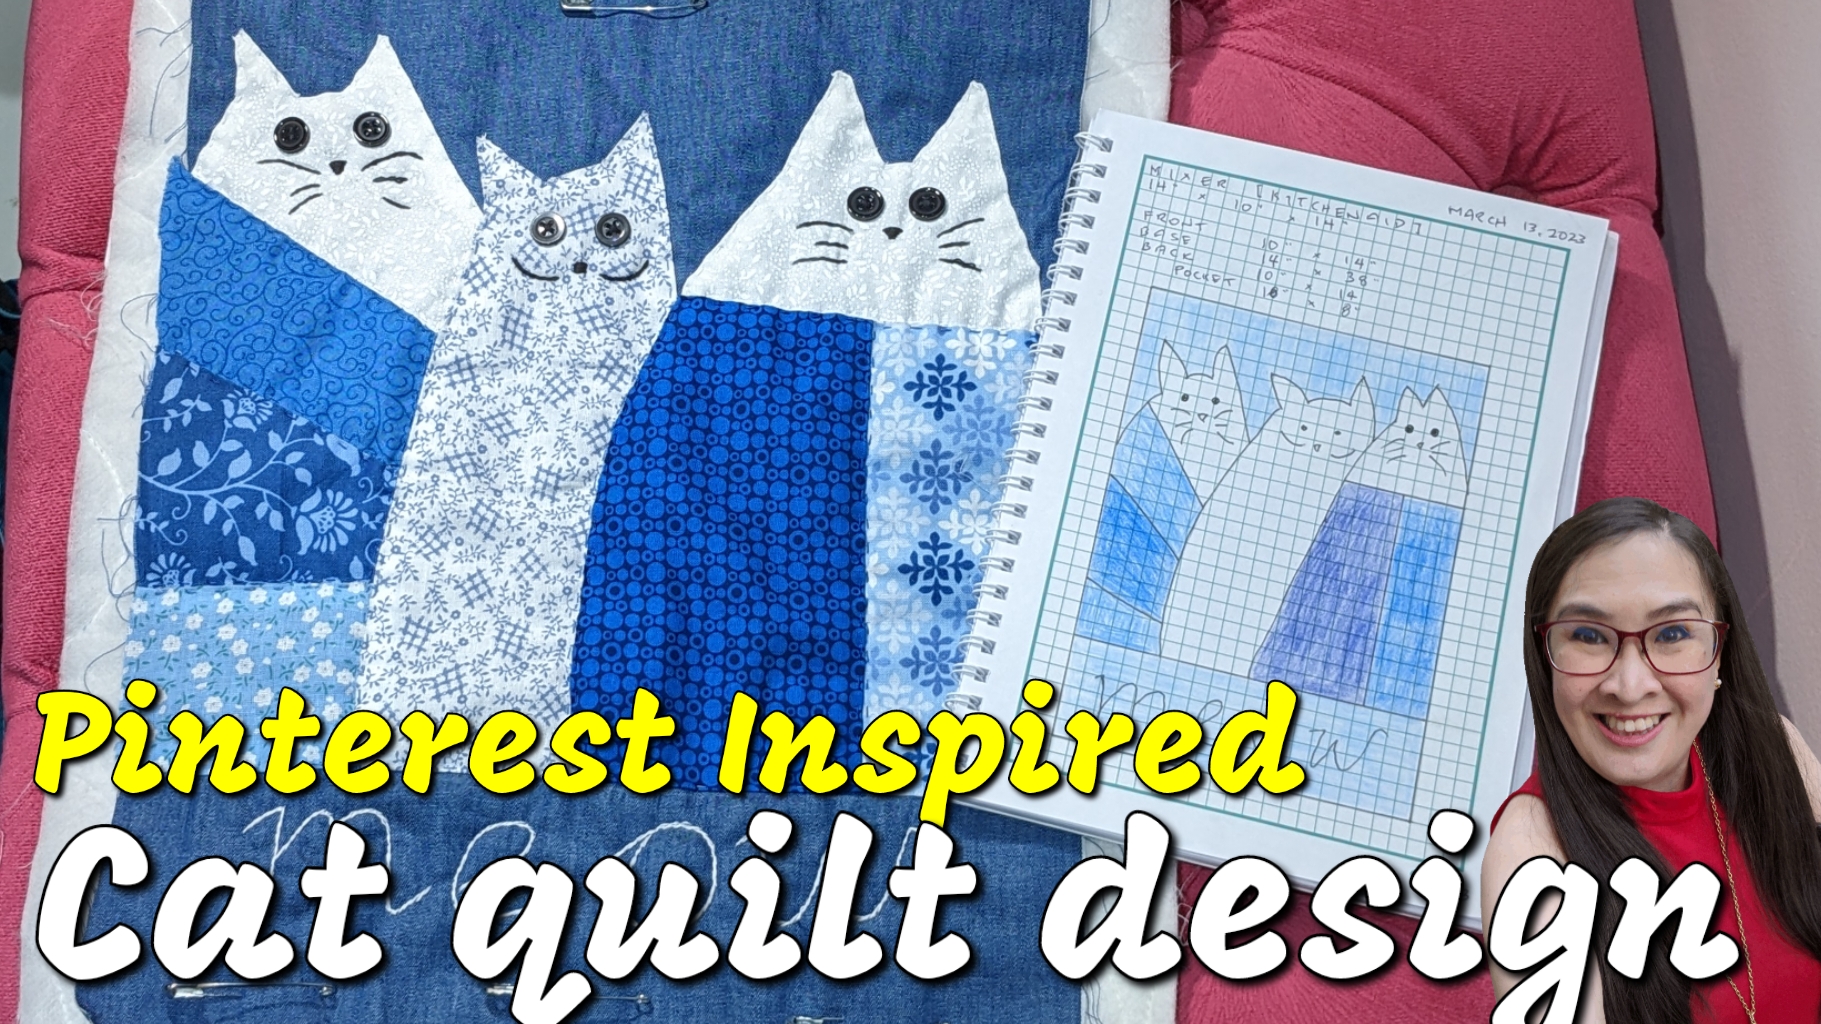
I chose from the different cat designs I pin and decided to start with this pin. I couldn't access the website where it came from, so I just made it from scratch. I made a bag the first time I tried this pin and thought I'd use the design again for a kitchen project I'm making. In time I plan to combine this cat design with other cat designs to make a lap quilt.

Here's a tutorial:


Here are the steps on how I made the quilt:

1. Draw the design based on the measurements of your project. 

2. Trace the design with tracing paper and cut it by piece.

3. Use the cut piece to make a template using a board (I just used an old box). 

4. Select your fabric. 

5. Use the template wrong side up to draw the piece. 

6. Cut with 1/4 inch allowance. 

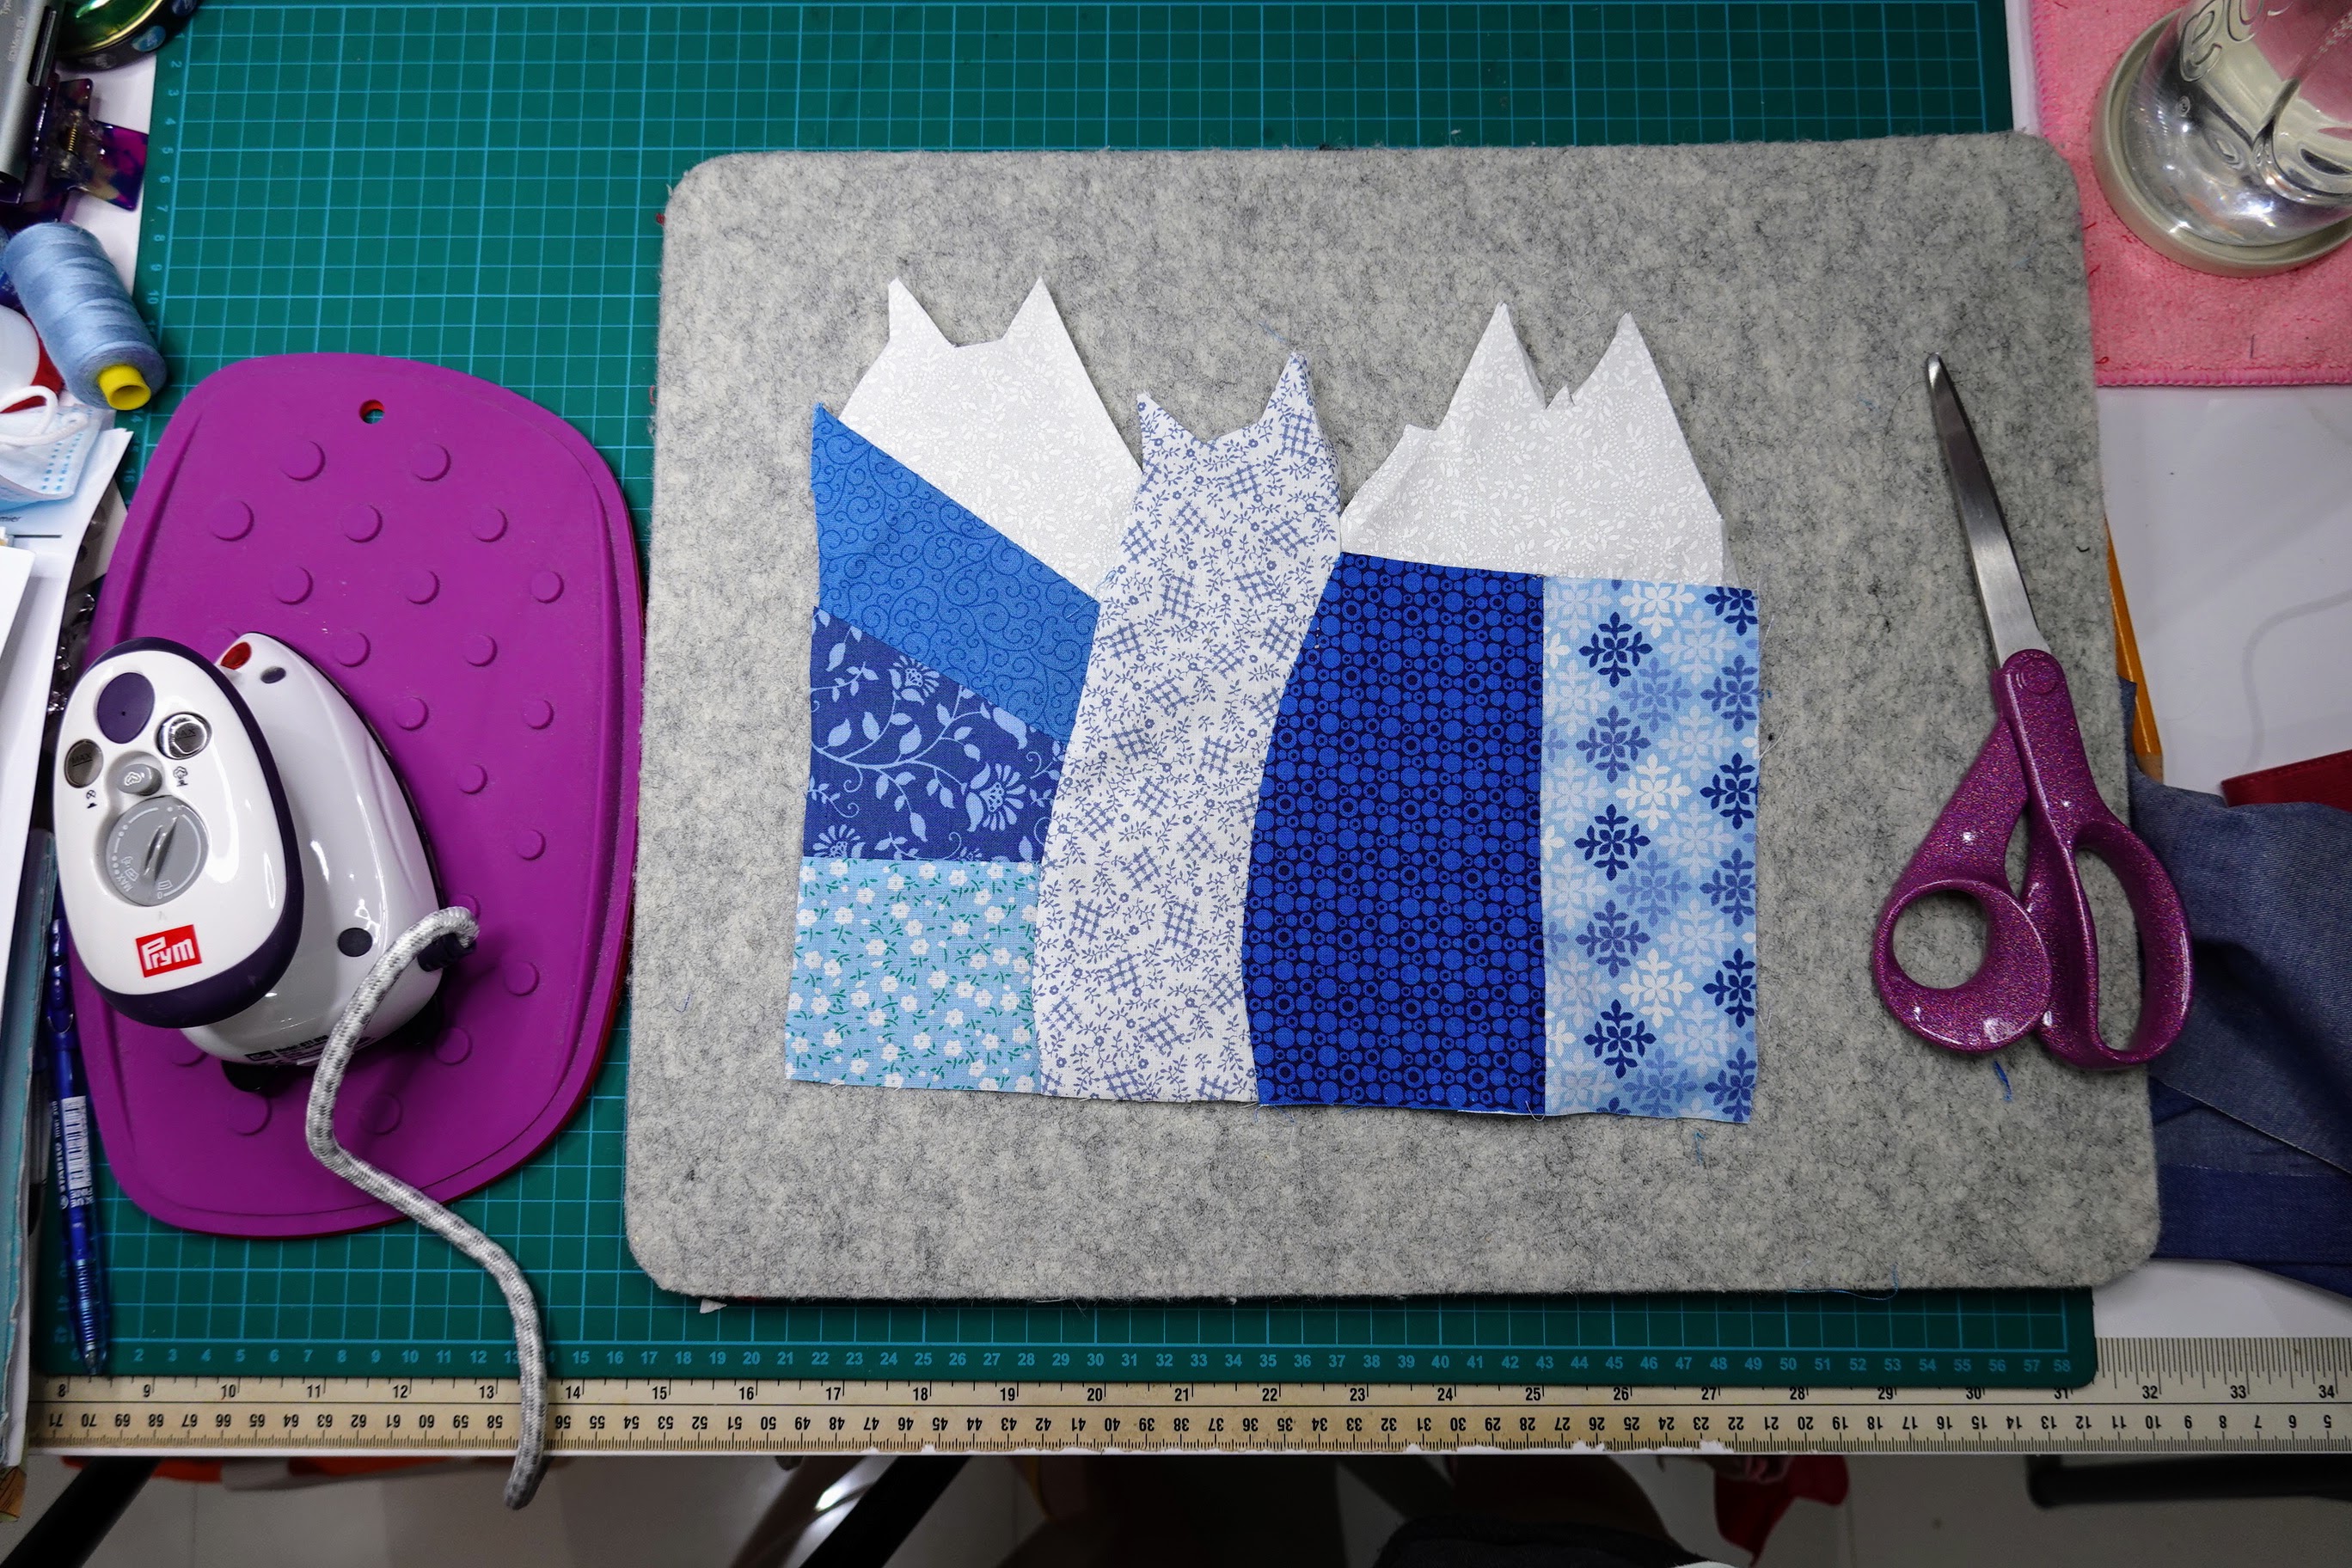
7. Piece together the cut fabric. 

8. Iron both sides and fold in the head and ears. 

9. Put the design on your base fabric. 

10. Sandwich with batting and pin. 

11. Quilt :)

12. Add the buttons.

13. Embroider the whiskers and nose.

14. Embroider a message, I added "meow" at the bottom (optional)

Materials:

1 white printed fabric

7 blue printed fabric in different hues

4 blue thread in different hues

black embroidery thread

6 buttons

base fabric

wadding

backing fabric

pins/needle

Size:

10" x 14"

Pattern:


Monday, April 17, 2023

How to Make Binding (Bias Tape)

Most quilts require edges to be binded. I used to make it by hand. It was hard to make it even. I eventually discovered a bias tape maker and ordered one online. It came as a set which meant I could make different sizes. I know there are fancier tools, but this one works for me. Buying ready-made binding is also expensive! You can make a lot for the price of one. 


Here's how I make binding:


Materials and Tools:

Fabric

Ruler

Bias tape maker

Iron

Scissors

A napkin roll

Pins


Measurement:

1.5 inch of fabric*

*You can make it smaller or bigger, just check the size at the back of the bias tape tool


Saturday, April 8, 2023

Hand Quilted Essential Oil Case

I love using essential oils and through the years I've been using a case a friend gave me. I set it aside a few weeks ago since I wanted to measure it to make a new one. Finally decided to make a new one for an upcoming trip and my trusty EO case went missing! I just then made my own measurements so I could proceed with the project. 


Found some leftover pieced fabric from my KitchenAid quilt cover project and decided to use it. I originally wanted to use a cute design, but decided to use strips since I'm just learning to do this. You can also use a jelly roll to make this. 

Measurements:

Finished size: 10.5" x 4"

Unfolded size: 10.5" x 6.5"

Materials:

5 strips, cut each at 1/2 meter x 2.5"

wadding

backing fabric

binding 

8" garter

How to Video:


I love how it turned out. I made a few more for friends who use EOs :)


Monday, April 3, 2023

How to Make Kitchen Curtains

Summer rolled in so fast! Needed to make new curtains for our kitchen window. I shied away from having our curtains custom made because it's so expensive! Found out I could make my own for a small fraction of the cost. Making my own curtains also allows me to experiment on the fabric. 


Found some Swissdot fabric on Lazada. I thought it was cute. The shop had 26 different colors. Settled for "oatmeal" since it would go with anything. Here's how I made the kitchen curtains. It only took me two nights to finish it. 


Materials:

5 yards Swissdot fabric

Beige thread

Measurements:

Base (height of window) - 115 cm

add for fold (top) - 3 cm

add for fold (bottom) - 3 cm

add for rod fold - 10 cm