I rushed to make this pinwheel baby quilt for my grand niece. I was after a free ride to Australia for the blanket since my brother is heading there. Well, it's currently stuck in Indonesia and will hopefully reach my grand niece by New Year.
I finally busted out the fabric I got in Ginza, Japan a few years ago. I wanted to use it for a special baby, so I was ecstatic when my nephew and his wife had a baby girl. The sashing and binding fabric is from Singapore and the wadding from Australia (yes, I used to hoard stuff from abroad whenever I got to travel). I thought about my Mom while I was choosing the color for the sashing and eventually asked for my son's opinion. Sweetie said it looked like a quilt my Mom would put together.
I have a friend who loves Little Twin Stars. I knew about this Sanrio character because my sister had it on her dresser (jewelry boxes). I'm glad I found Little Twin Stars fabric online. I only got a meter because it's expensive! There's probably a lot more options available in Japan.
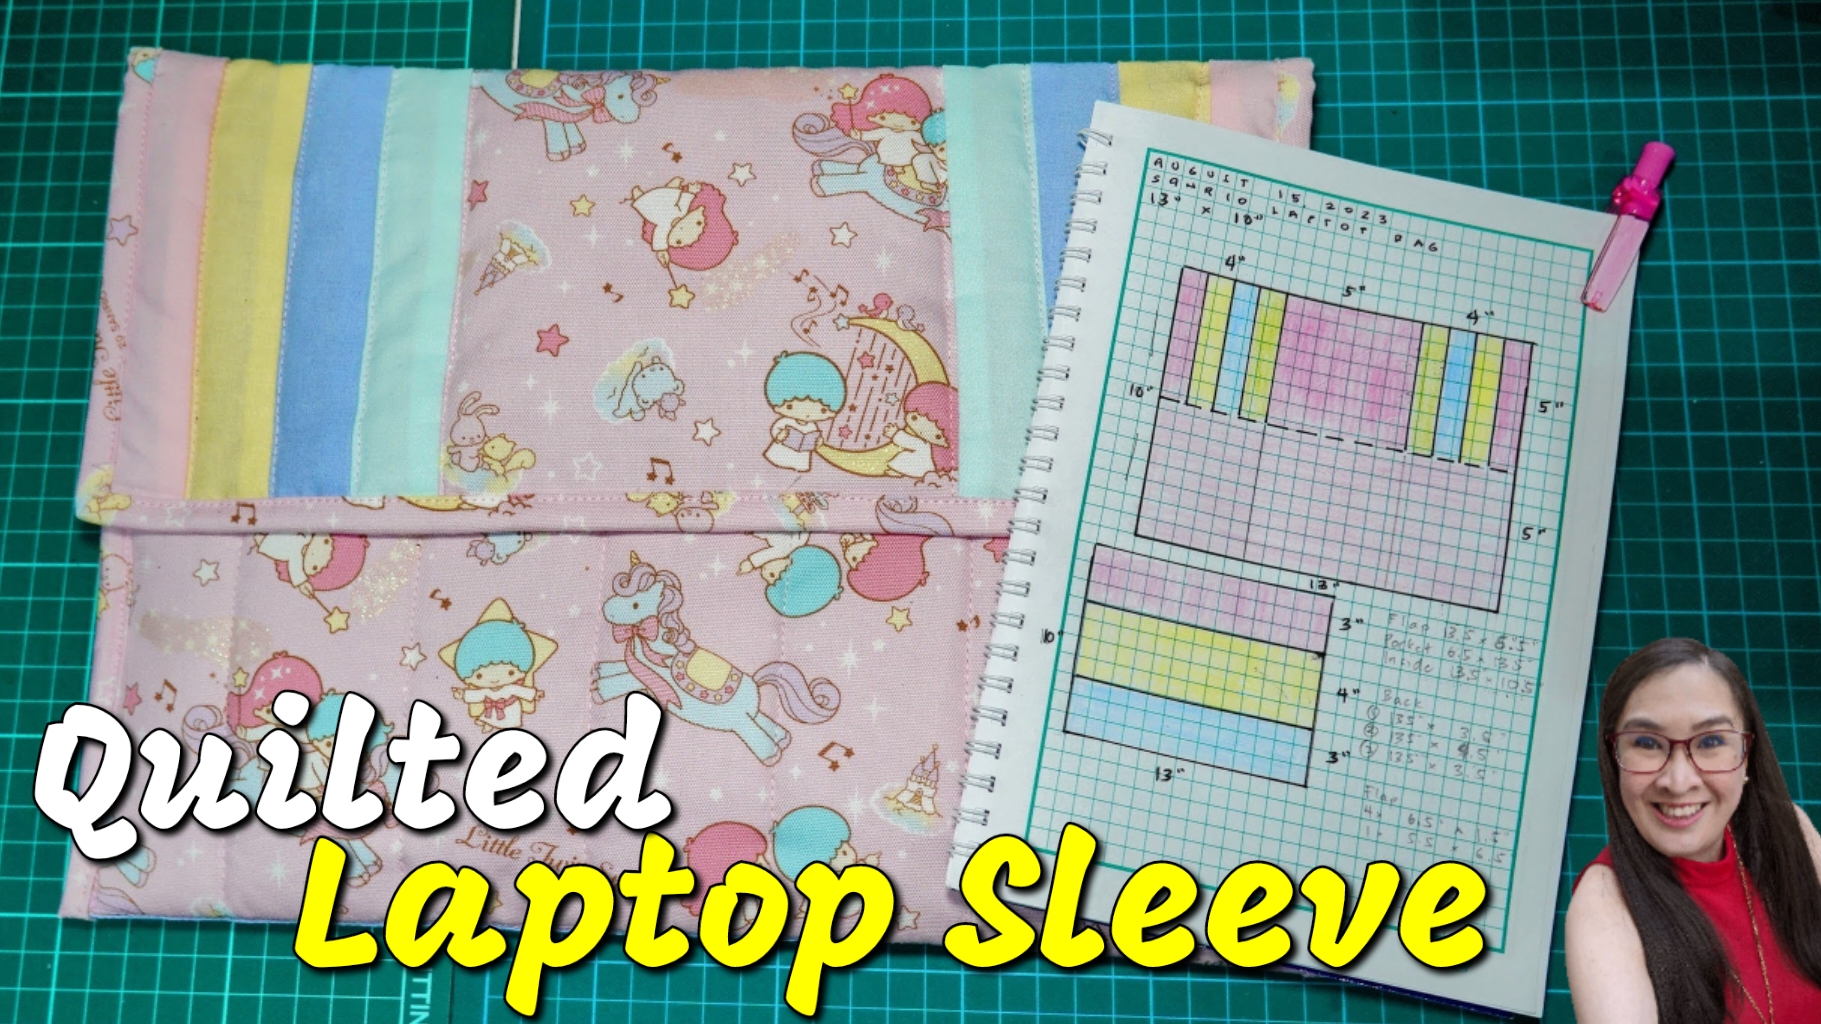
After storing the fabric for a few months, I finally decided to make a laptop sleeve for my friend. I asked her what kind of laptop she was using. Then I worked out the measurements and design. I asked help from my son to help me choose the colors of the fabric. I wanted to make sure the colors would complement the Little Twin Stars fabric.
I made the design simple, to make sure the Little Twin Stars fabric is noticeable. The challenging part in assembling this quilted laptop sleeve is figuring out how to properly add the pocket. I wanted the wadding to be continuous to add strength to the sleeve.
I'm glad I didn't rush to finish the project because I was able to make the sleeve stable. I was also able to add velcro discreetly. I didn't want stitches for the velcro to show on the flap. I'm happy how it turned out, I just hope my friend's laptop fits!
Here's the tutorial:
The steps:
1. Plan and design.
2. Create the inner panel and pocket. Sandwich the pocket with wadding and bind the top. Join the inner panel and pocket at the bottom.
3. Piece together the flap.
4. Piece together the back panel.
5. Join the back panel and flap. Then join the inner panel with pocket.
6. Sandwich with wadding. Stabilize with pins and then quilt. Don't quilt the flap yet.
I'm on a roll trying out cute Pinterest inspired cat quilts. It's a good way to learn new skills since you're forced to learn how to make templates and figure out how best to piece a design. I'm also a lot iffy when it comes to curved designs and I certainly struggled a bit when I made the tail.
Figuring out the template for the cat was fairly easy. I still ended up piecing the back area upside down, so I ended up re-doing it. The tail though was harder to put together and it took me awhile to turn it inside out. I breathed a sigh of relief when I saw I correctly cut the fabric (front side down when you cut the fabric!). The secret to my success? Making templates!
Here's the tutorial:
Here are the steps on how I made the cat quilt:
1. To get the right measurements, I drew the design on graphing paper.
2. Rendered the design and it's actual measurements on manila paper to make sure I got it right.
3. Created a template on a board.
4. Used the board to cut fabric. Make sure to add 1/4" around the edges.
5. Pieced together the cut fabric.
6. Ironed both sides and sandwiched with wadding.
7. Quilt the cat! I decided to use white thread to highlight the shape of the cat.
How to make the tail:
1. Asked my son help draw me a right sized tail using manila paper.
2. Used the drawing to make a template.
3. Drew the tail right side facing down and added 1/4" around the edges.
4. Sandwiched the tail with thick interfacing (I reused from a bag leftover). Sandwich should follow this order: tail wrong side up, backing fabric and interfacing at the bottom.
5. Sew together and leave the base of the tail open.
6. Once done, pull inside out.
7. Quilt the tail with the same white thread.
Materials:
1 print fabric
1 solid color fabric
thread and needle
pins
graphing paper
manila paper
ruler
scissors
interfacing (the thick one for bags is a good one)
Size:
6" x 9.5" x 16.5"
Pattern:
Will assemble and turn the cat quilt into a kitchen gadget cover next week!
I turned the Pinterest-inspired cat quilt into a KitchenAid cover. It now sits proudly on our kitchen counter. I've been making rainbow colored quilts using standard shapes. I made the cat quilt to gain more skills and to have fun.
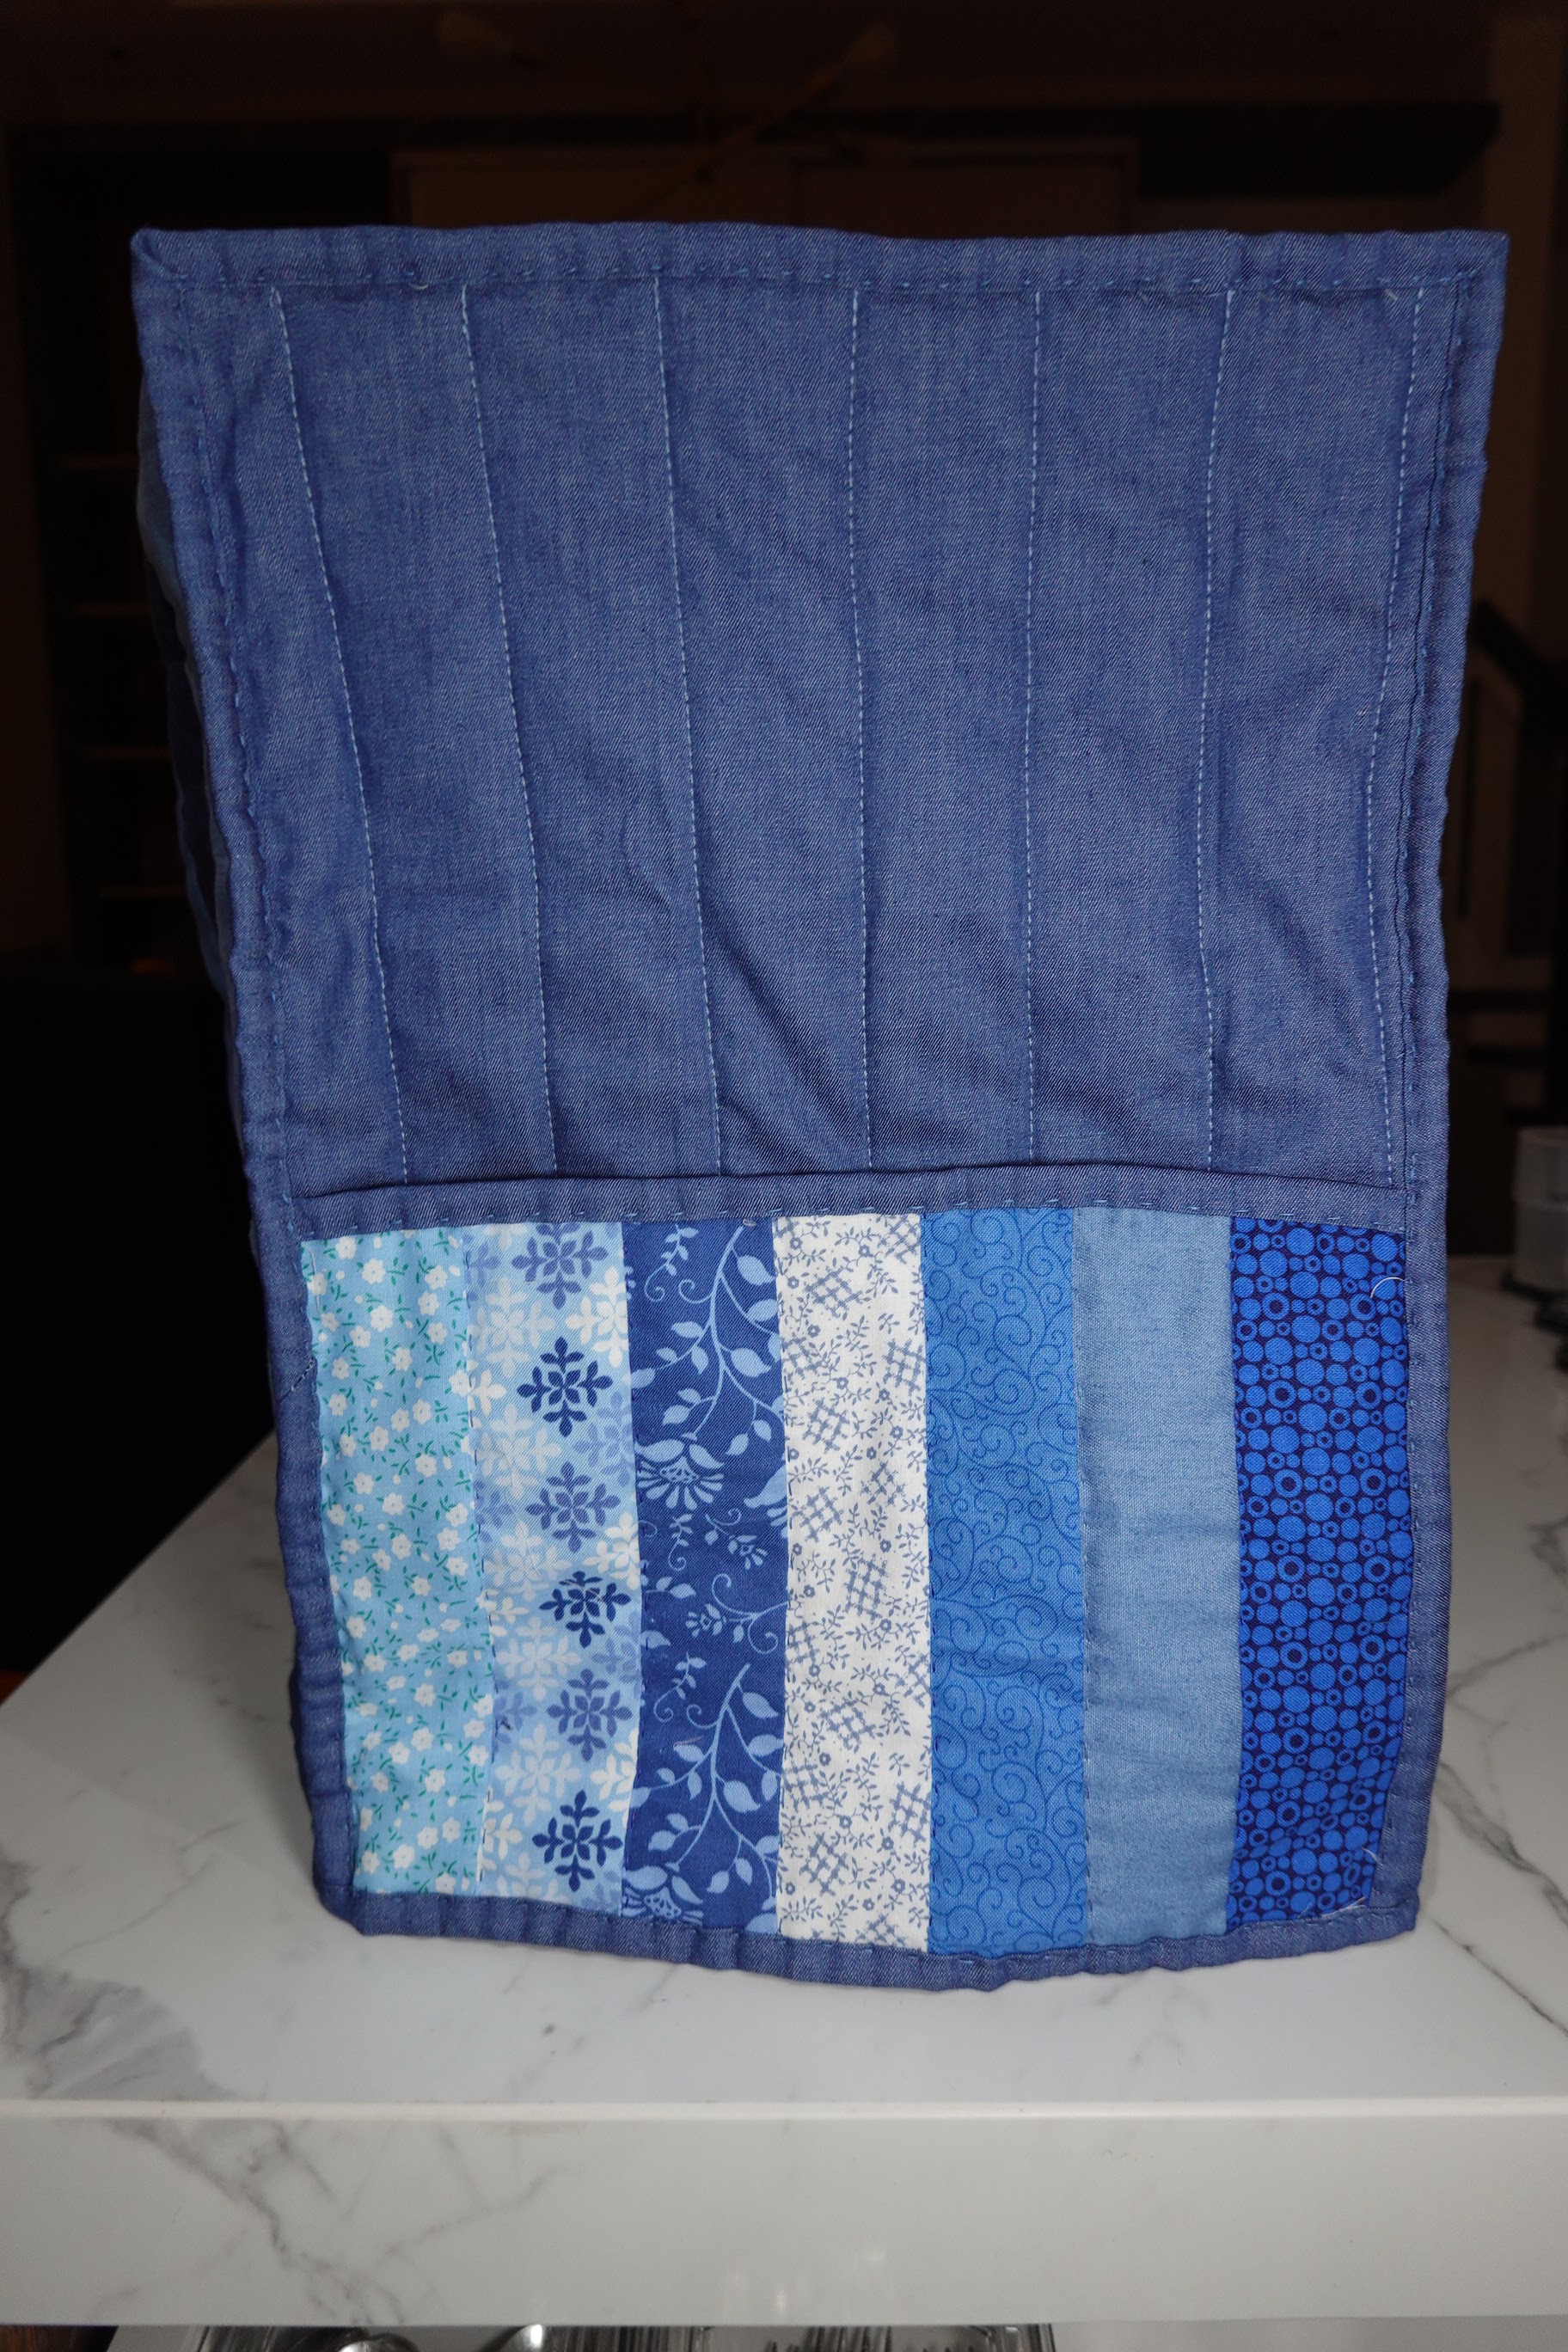
I made the KitchenAid cover by part. I started with the front cover, then the main cover and the back cover. I thought it would be easier just to make the main cover like a tent. I just used strips of denim-like fabric since I wanted to stick to one color. I used the same fabric for the back cover pocket. I made it that way so I could switch the front and back whenever I felt like it. For now, the cats are watching over my kitchen.
Here's a tutorial -
Here are the steps how I made the cover -
1. Create the front cover (follow the process here).
2. Make the main cover
Cut 7 strips of 3" x 39"
Sew the strips together
Iron both sides
Sandwich with wadding and back fabric (I used an old bed protector)
Pin and quilt
Clean up the sides
3. Make the back cover with pocket
Cut the base, same size as your front cover 10.5" x 14.5"
I made a quilted bag for my cutting mat and wool ironing pad. I thought it would be cute to try out the heart strips quilt. I worked out the measurements based on the size of the cutting mat. Here's how it turned out -
For the back part I used a butterfly fabric and added a pocket. I'll use it for smaller rulers. I also added a pocket inside for the tiny cutting mat I got from Daiso. I'm still deciding whether I'll put a handle and buttons.
Here's a short video on how I made the mat -
If you're interested to try the heart strips quilt, here's the base template.