Tuesday, May 16, 2023

Another Pinterest Inspired Cat Quilt

I wanted to explore more cat designs on Pinterest. I knew it would help me hone my skills more on making templates and figuring out how to re-create a design I see online or on a book. Pinterest is a treasure trove of ideas and inspiration for quilting. I have pinned many ideas which I hope to try making. Follow me on Pinterest if you have one: https://www.pinterest.com/aileenapolo/. 


Here's the tutorial -


Here are the steps on how I made this cute cat quilt -

1. Drew the design on graphing paper based on the size for my end project. 

2. Rendered the design on manila paper to get an idea of the size. I adjusted a couple of times.

3. Draw the design on a chip board. Cut based on how you will piece together the design. 

4. Cut the fabric. Make sure to add 1/4" around the template. 

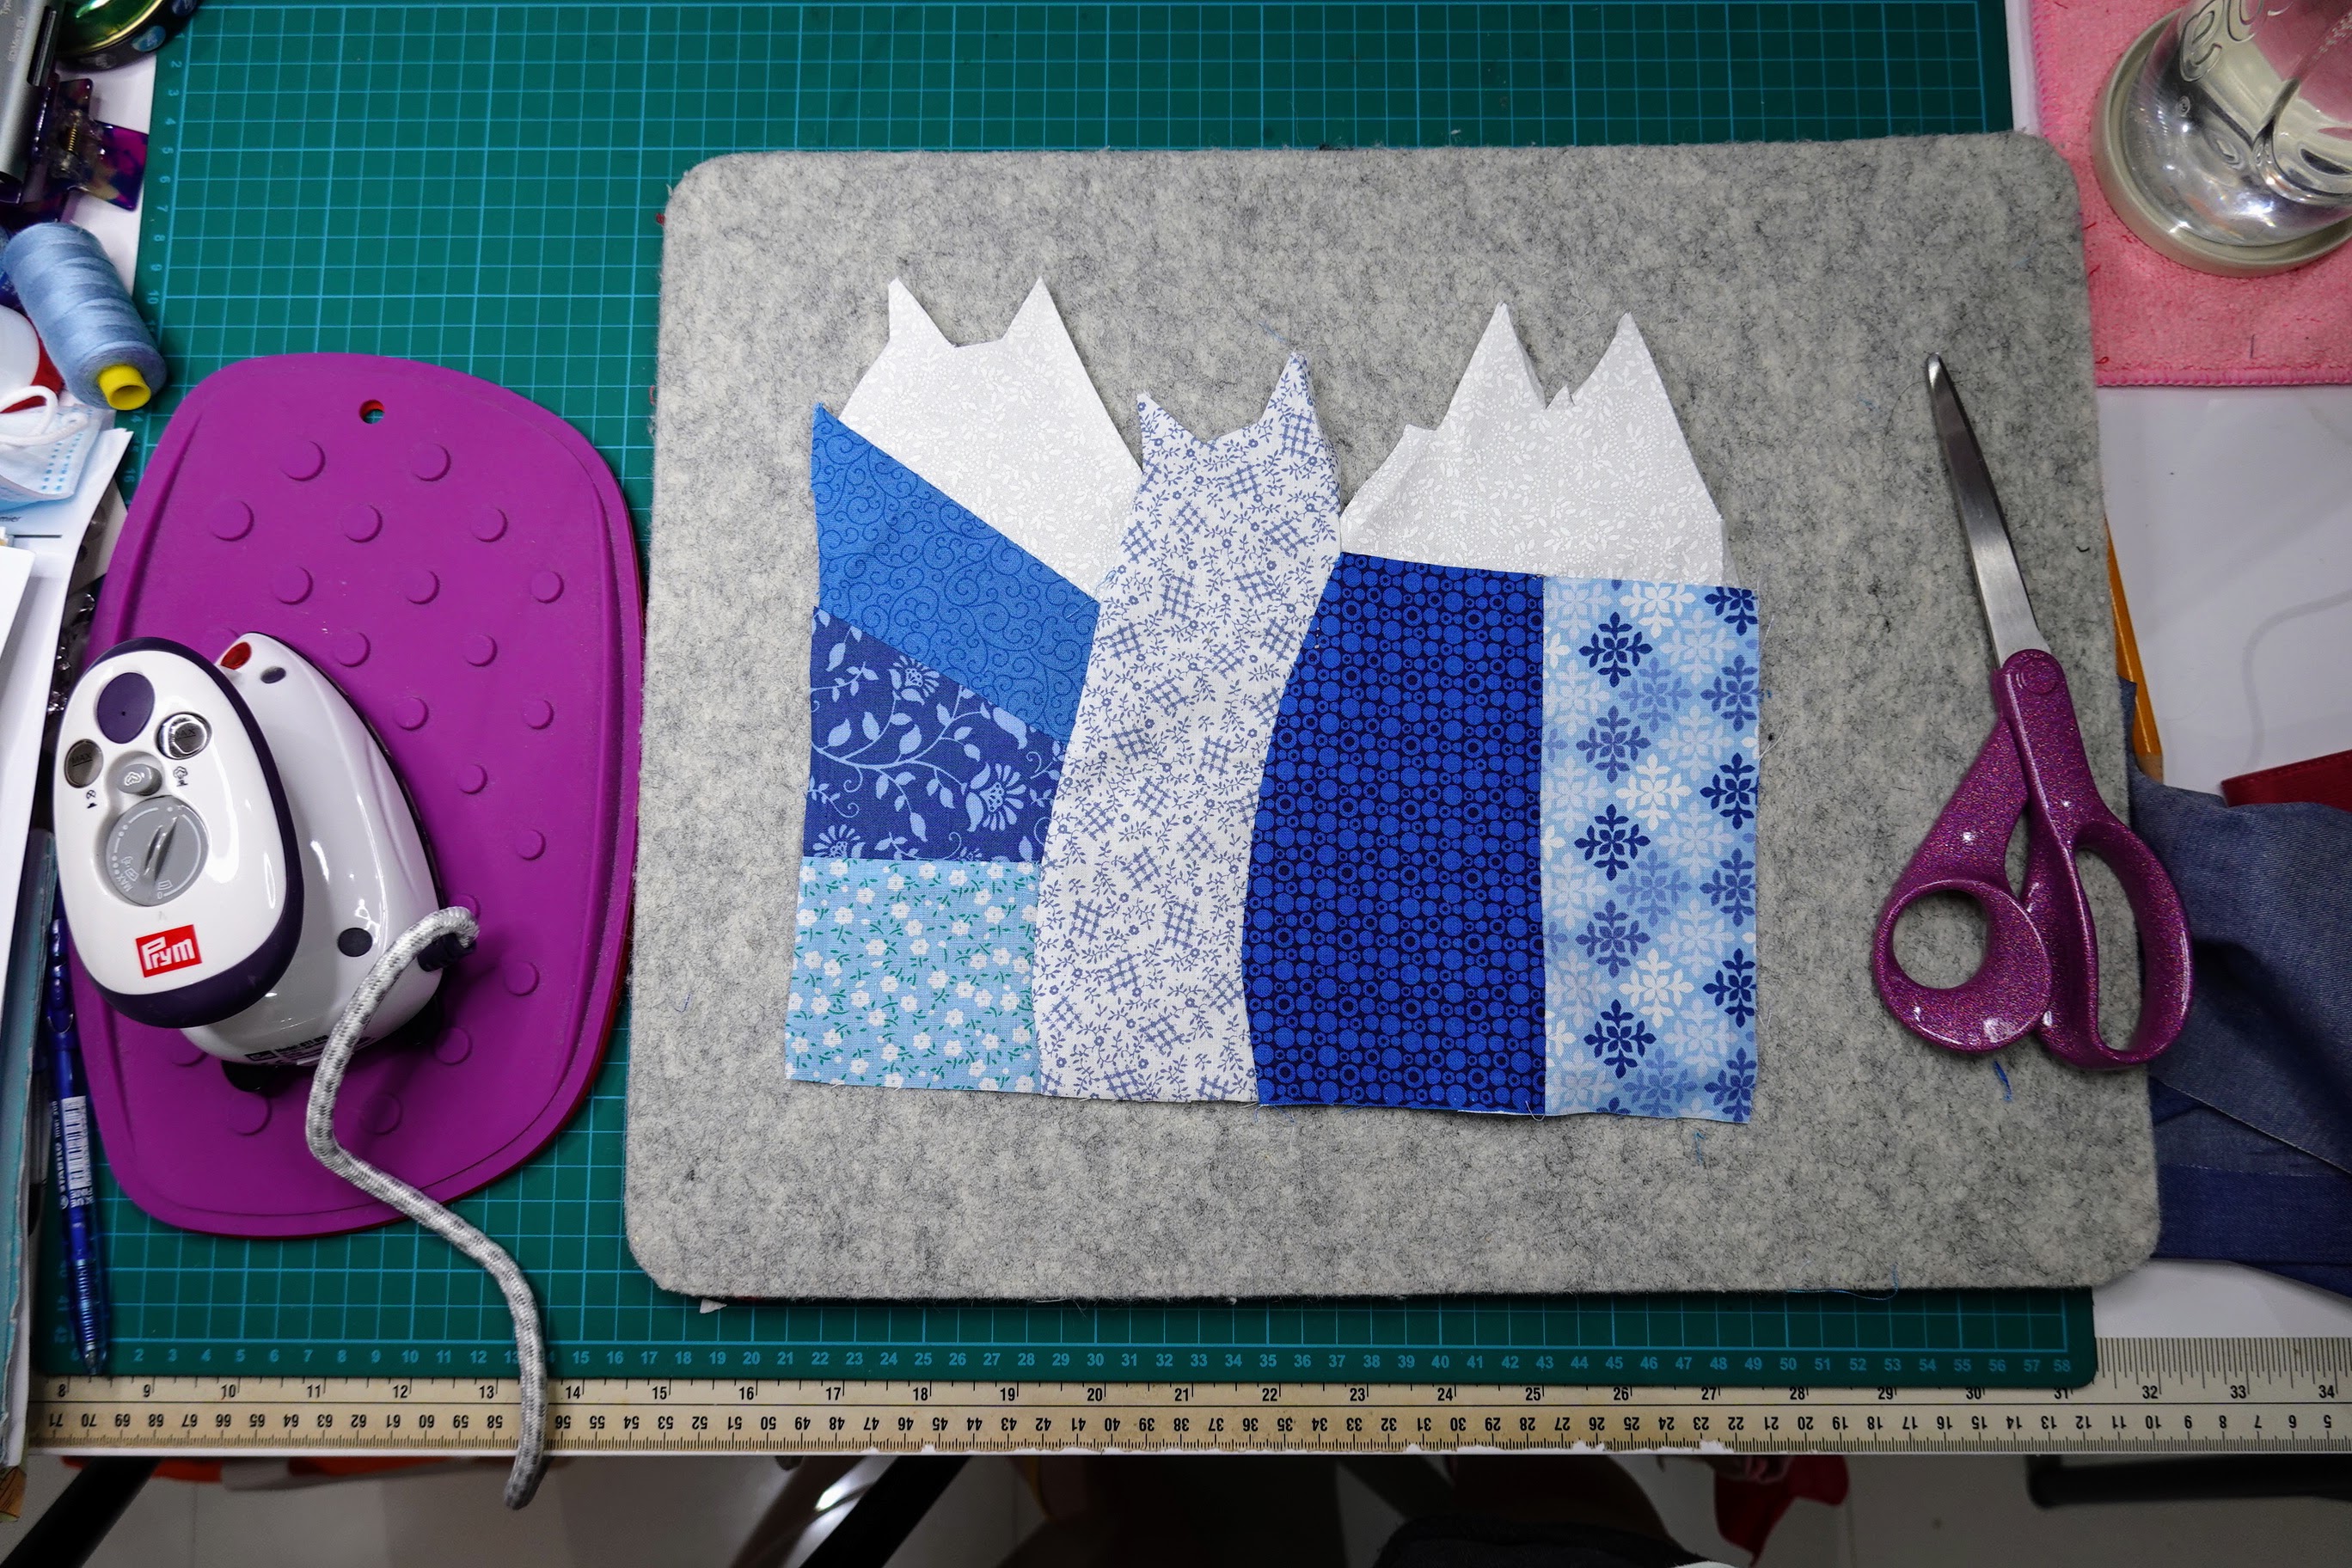
5. Piece together. Best to start with the ear area and complete the face and chin. 

6. Add the "background" around the cat face. 

7. Add sides as needed.

8. Iron both sides. 


Materials

4 print or solid fabric

thread and needle

pins

graphing paper

manila paper

ruler

colored pencils (optional)

Size

9" x 9" x 16"

Pattern


Monday, May 8, 2023

Turned the Cat Quilt into a KitchenAid Cover

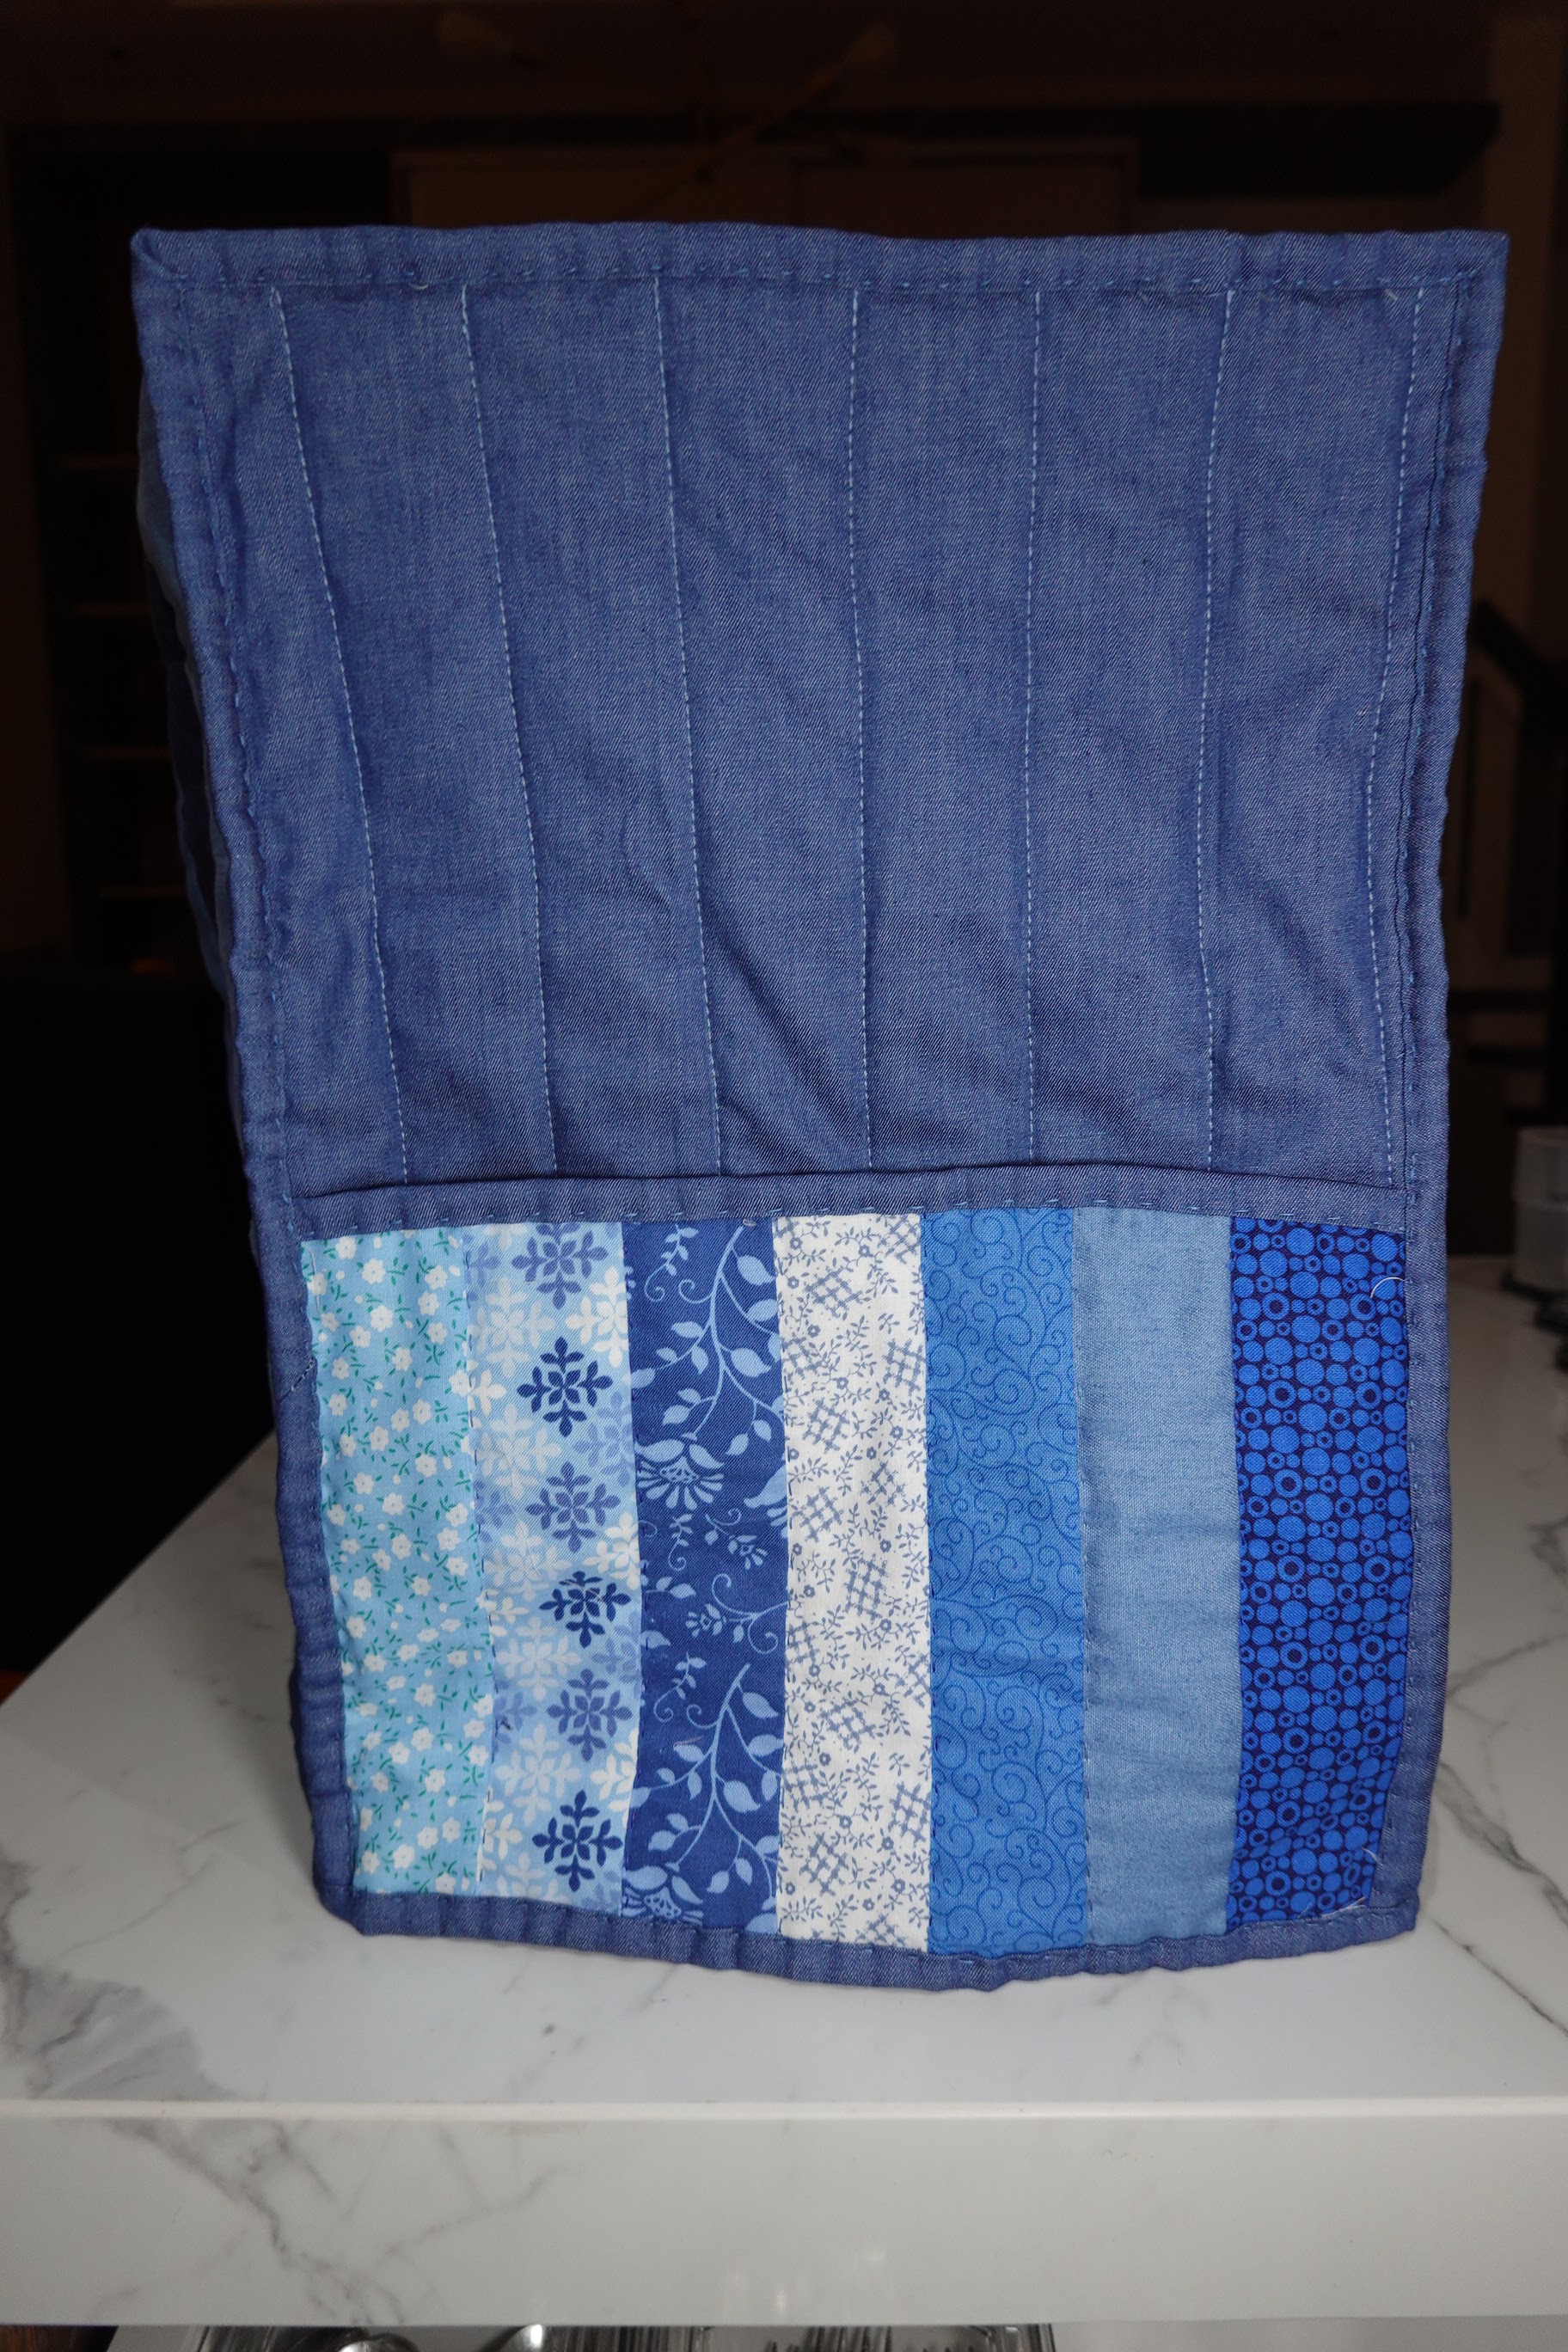
I turned the Pinterest-inspired cat quilt into a KitchenAid cover. It now sits proudly on our kitchen counter. I've been making rainbow colored quilts using standard shapes. I made the cat quilt to gain more skills and to have fun. 


I made the KitchenAid cover by part. I started with the front cover, then the main cover and the back cover. I thought it would be easier just to make the main cover like a tent. I just used strips of denim-like fabric since I wanted to stick to one color. I used the same fabric for the back cover pocket. I made it that way so I could switch the front and back whenever I felt like it. For now, the cats are watching over my kitchen. 

Here's a tutorial -


Here are the steps how I made the cover -

1. Create the front cover (follow the process here).

2. Make the main cover

  • Cut 7 strips of 3" x 39" 
  • Sew the strips together
  • Iron both sides
  • Sandwich with wadding and back fabric (I used an old bed protector)
  • Pin and quilt
  • Clean up the sides

3. Make the back cover with pocket

  • Cut the base, same size as your front cover 10.5" x 14.5"
  • Sandwich base with wadding 
  • Pin and quilt lines from top to bottom
  • Cut 7 strips of 2" x 6.5" 
  • Combine and iron both sides
  • Sandwich with wadding and quilt
  • Add binding to the top of the pocket
  • Attach the pocket to the base

4. Make binding (how-to here)

5. Assemble the three sides and combine with bias tape


Materials

base fabric for front and back cover

scraps for the back cover pocket

8 strips of fabric for main cover (or use jelly roll)

fabric for binding/bias tape

wadding

back fabric for sandwich (optional if you re-use a bed protector)

thread

*see cat quilt post for materials needed for front cover

Size

Total: 10.5" x 14.5" x 14.5"

Main cover: 14.5" x 38"

Front cover: 10.5" x 14.5" 

Back cover: 10.5" x 14.5"

Pocket: 10.5" x 6.5"


Sunday, April 23, 2023

Pinterest Inspired Cat Quilt

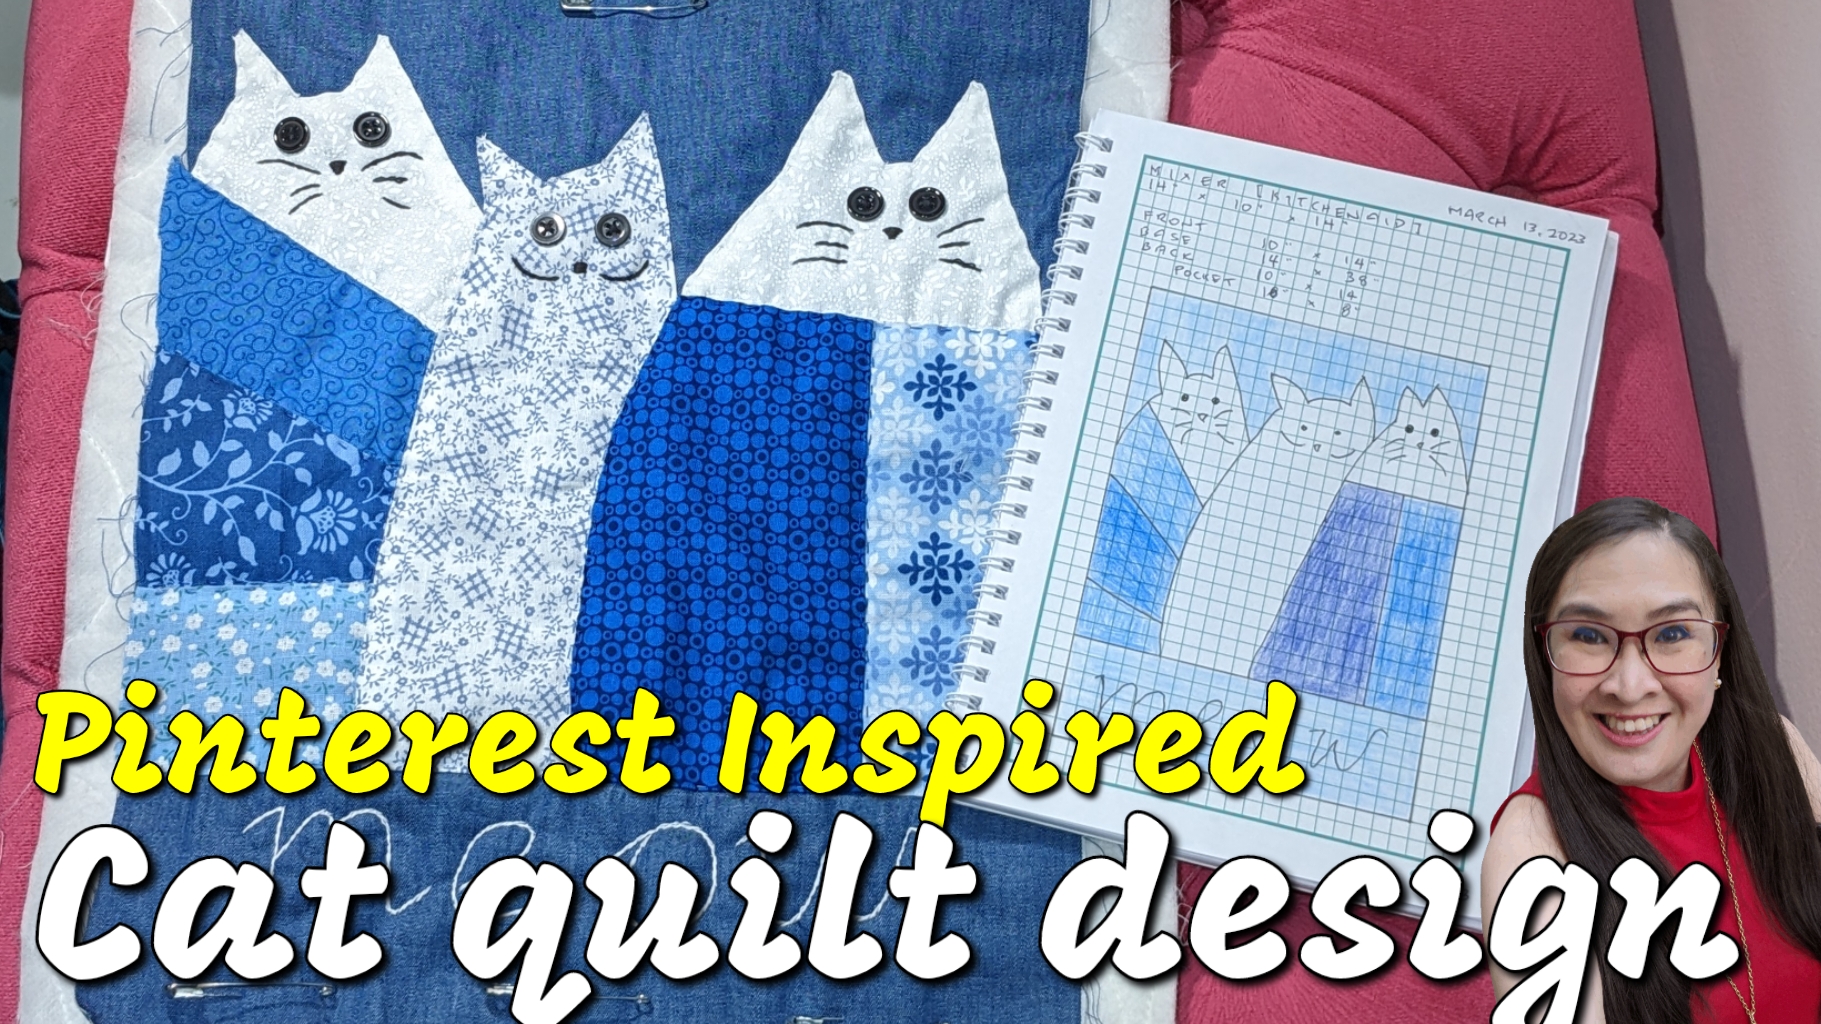
I wanted to learn how to do non-block quilting, so I turned to Pinterest for inspiration. I saw a lot of designs I want to try making, but I had to learn how to quilt odd shaped fabric. I started by making mug rugs. I made a cupcake and butterfly mug rug, so I could practice sewing curves. Eventually found several cat designed quilts which I thought should be challenging to make. 


I chose from the different cat designs I pin and decided to start with this pin. I couldn't access the website where it came from, so I just made it from scratch. I made a bag the first time I tried this pin and thought I'd use the design again for a kitchen project I'm making. In time I plan to combine this cat design with other cat designs to make a lap quilt.

Here's a tutorial:


Here are the steps on how I made the quilt:

1. Draw the design based on the measurements of your project. 

2. Trace the design with tracing paper and cut it by piece.

3. Use the cut piece to make a template using a board (I just used an old box). 

4. Select your fabric. 

5. Use the template wrong side up to draw the piece. 

6. Cut with 1/4 inch allowance. 

7. Piece together the cut fabric. 

8. Iron both sides and fold in the head and ears. 

9. Put the design on your base fabric. 

10. Sandwich with batting and pin. 

11. Quilt :)

12. Add the buttons.

13. Embroider the whiskers and nose.

14. Embroider a message, I added "meow" at the bottom (optional)

Materials:

1 white printed fabric

7 blue printed fabric in different hues

4 blue thread in different hues

black embroidery thread

6 buttons

base fabric

wadding

backing fabric

pins/needle

Size:

10" x 14"

Pattern:


Monday, April 17, 2023

How to Make Binding (Bias Tape)

Most quilts require edges to be binded. I used to make it by hand. It was hard to make it even. I eventually discovered a bias tape maker and ordered one online. It came as a set which meant I could make different sizes. I know there are fancier tools, but this one works for me. Buying ready-made binding is also expensive! You can make a lot for the price of one. 


Here's how I make binding:


Materials and Tools:

Fabric

Ruler

Bias tape maker

Iron

Scissors

A napkin roll

Pins


Measurement:

1.5 inch of fabric*

*You can make it smaller or bigger, just check the size at the back of the bias tape tool


Saturday, April 8, 2023

Hand Quilted Essential Oil Case

I love using essential oils and through the years I've been using a case a friend gave me. I set it aside a few weeks ago since I wanted to measure it to make a new one. Finally decided to make a new one for an upcoming trip and my trusty EO case went missing! I just then made my own measurements so I could proceed with the project. 


Found some leftover pieced fabric from my KitchenAid quilt cover project and decided to use it. I originally wanted to use a cute design, but decided to use strips since I'm just learning to do this. You can also use a jelly roll to make this. 

Measurements:

Finished size: 10.5" x 4"

Unfolded size: 10.5" x 6.5"

Materials:

5 strips, cut each at 1/2 meter x 2.5"

wadding

backing fabric

binding 

8" garter

How to Video:


I love how it turned out. I made a few more for friends who use EOs :)


Monday, April 3, 2023

How to Make Kitchen Curtains

Summer rolled in so fast! Needed to make new curtains for our kitchen window. I shied away from having our curtains custom made because it's so expensive! Found out I could make my own for a small fraction of the cost. Making my own curtains also allows me to experiment on the fabric. 


Found some Swissdot fabric on Lazada. I thought it was cute. The shop had 26 different colors. Settled for "oatmeal" since it would go with anything. Here's how I made the kitchen curtains. It only took me two nights to finish it. 


Materials:

5 yards Swissdot fabric

Beige thread

Measurements:

Base (height of window) - 115 cm

add for fold (top) - 3 cm

add for fold (bottom) - 3 cm

add for rod fold - 10 cm

Monday, March 27, 2023

How to Make Blackout Curtains

Custom curtains are very expensive. I researched on what kind of fabric I should use to make blackout curtains since it could get scorching hot during the summer. I bought Philipps curtain fabric at PhP99 per yard and lace embroider fabric at PhP95 per yard. It just cost me PhP2,500 to make a set for our living room since labor is free. 


Here's how I made it:


Step 1: Cut fabric based on the measurements. Make sure to add 16 centimeters to the length of your window.

Step 2: Fold in 3 centimeters across all sides. Iron, then sew.

Step 3: Fold in 10 centimeters from the top. Iron then sew.

*You can optionally add a "frill on top" if you wish, just add 21 centimeters to the length. 


Saturday, March 11, 2023

Harry Potter Lap Quilt

Before I left Singapore, I made a mad dash to make some lap quilts for my friends. I knew one was a Harry Potter fan, so I thought I'd make one for him. I used solid fabric colors to complement the design. I just used simple shapes to make it easier for me to finish the quilt. Managed to finish it a few days before we went home. 


My friend said, Lily his pet dog, immediately commandeered the blanket as soon as she saw it. She looked so cute on it, that's why I asked permission if I could use her photos for this post. I'm glad they liked it, yay!

Here's a short video on how I made the lap quilt:


Materials:

Harry Potter fabric
solid colors fabric
backing fabric
wadding
thread
lots of pins and clips


Saturday, March 4, 2023

Huge Appliance Quilt Cover

My doctor required me to have my own oxygen concentrator. I didn't expect it to be so big! I don't use it often, so thought it would be good to keep it covered. I took it as an opportunity to make a new quilt project. 

I was raring to finish my t-shirt memory quilt at that time, so wanted to quickly finish the cover for my huge appliance. I used my favorite rainbow colored fabric and just cut it in squares for easy piecing. My measurement for the size was wrong, so I just added a black strip to make the cover a bit bigger.


Like the food processor cover I made, I decided to add pockets. In case of emergency it would be useful to have the components of the O2 concentrator accessible. It took me less than two weeks working on this project off and on. My favorite part was quilting. The difficult part was getting the measurements right and binding the whole project together. It got quite heavy. 

Here's a tutorial video on how I made it:


Materials:

Rainbow fabric, cut into squares

black fabric for the base and binding

backing fabric

wadding

thread

lots of pins and clips

Pattern:


Saturday, February 25, 2023

Vinta Inspired Hand Quilted Throw Pillow

A vinta is a traditional outrigger boat in the Philippines. They are made by people in the Sulu Archipelago, Zamboanga peninsula, and southern Mindanao. A vinta is usually made with colorful sails. I took the photo below in Mindanao. 


I've always been drawn to the sea because my ancestors were involved in maritime work and traveled the world to reach the Philippines. I was inspired to make the vinta designed hand quilted throw pillow from a photo by Mohd Sarj (more about it here). 


Here's a step-by-step video on how I made it -


The materials I used:

various pink printed fabric

white with tiny prints fabric

dark brown fabric for the base of the vinta

plain pink fabric for binding

wadding

backing fabric

fabric for the back part of the pillow

thread and needle

lots of pins and clips


Pattern:


Monday, August 22, 2022

How to Make a T-Shirt Memory Quilt Blanket

It took me three years to finally finish my t-shirt memory quilt blanket. It started when I cleared out my closet and I couldn't let go of the shirts because I love each and every one of them. They held 15 years of happy memories. Good thing I did some research before I started working on it because there's no second chances on the material I used. 


Here's a step by step video on how I made it:


The materials I used: 

old shirts

border fabric (I used the same fabric for the binding)

accent fabric (4 colors)

wadding

backing fabric (I used flannel)

thread

lots of pins, safety pins and clips

Here's how I made it:

Step 1: Determine first the size of the blanket you want to make. Then draw how you want it to look, best to include the size of each piece to help you know how many tshirts you need and how much fabric you need. 

Step 2: Cut the shirts. I used a 12.5" x 12.5" square ruler to make my life easier. Then iron on fusible interfacing. This will make the shirt stable. 

Step 3: Cut the binding. 

Step 4: Sew the vertical bindings by row. 

Step 5: Prepare the accent pieces. 

Step 6: Piece together the horizontal border by row. Then add to the bottom of each row. Remove the excess interfacing.

Step 7: Add the horizontal border by row. You can opt to quilt the border at this point. Then piece each row together. 

Step 8: Add the side borders. 

Step 9: Sandwich the quilt. 

Step 10: I decided to just quilt the accents to stabilize the blanket. 

Step 11: Make your binding. 

Step 12: Bind the edges.


Monday, August 15, 2022

How to Make Curtains


The past few months have been very busy because we moved countries and we moved to a new home! You can just imagine how crazy it's been! The first project I had to make was curtains! Our windows and sliding doors required customized curtains. I figured that it shouldn't be as hard as quilting. Here's the tutorial:


Here's how I made it:

Step 1. Got help from my boys to measure the windows and sliding doors. Then I shopped for fabric on Lazada. I was happy to find out that there were many options on fabric. I got pink linen like polyester fabric (normally used for suits). It cost PhP100 per yard. 

Step 2. Measure and cut! Working with linen is a bit difficult though, so get help when needed. 

Step 3. Ironing the border will make it faster for you to sew. I folded 3 centimeters from all the edges and double folder it to keep the border clean.

Step 4. Sew all sides. 

Step 5. Fold 15 centimeters from the top. 

Step 6. Sew it.

Step 7. Mark 6 to 7 centimeters from the top. Pin it and check if the rod would fit. 

Step 8. Sew it. Annnddd you're done! 


Sunday, September 19, 2021

How to Make a Pinwheel Lap Quilt Fast!

I wanted to learn quilt short-cuts. I previously made a cheese pinwheel quilt blanket for my Mom by hand. It took me almost 2 years to finish it. While scrolling through Pinterest I found some recommendations on quilt short-cuts. As a beginner quilter my mind was blown and I immediately started planning the project.


I have been eyeing a blender quilt fabric at Spotlight for awhile. I thought it would be perfect for the project. I also wanted to make gifts so instead of making a full blanket I made 4 lap quilts. I worked on this learning project on and off for two months and was surprised how easy and fast it is to make a pinwheel quilt blanket. Here's the video of how I put together the pinwheel lap quilt -


*Watch previous videos too: Make 8 half squares at a time & Easy Pinwheel Quilt


I've also been practicing using my sewing machine more. I hand quilted two of the four blankets and I used the sewing machine for the other two. If you look closely the binding isn't perfect because I used the sewing machine. That's something I need more practice on. Well, I'm writing a nice note for my friends to give them a heads up it's not a perfect quilt! Haha.